

Have you turned on the switch, hoping for a fresh airflow, but heard an annoying hum instead? A ceiling fan that has trouble turning or runs at a slow rate usually indicates one main issue. This problem is simple to fix: a worn-out capacitor.
Capacitors serve as the key part that starts the motor. When this item fails to hold and send electrical power well, your fan loses its drive. You may see the fan work only at the top speed. Or it might need a hand push to move the blades. The reason is clear. The capacitor cannot create the needed phase shift to begin the spin.

At times, the clues of a bad ceiling fan capacitor show up plainly. Open the fan cover and check the black box inside. Look for a bent, softened, or puffed plastic case. A smell of burned wiring or signs of resin escape point to failed inner materials. You must replace it right away.
Learning how this tiny part works can help you avoid wasting time and cash on full fan swaps.
Many current home fans use the CBB61 Capacitor. This type of metallized film capacitor builds a magnetic pull that sets the motor's path and pace. It routes exact electrical flows via various wire setups. As a result, you can switch between low, medium, and high speeds without issues.
Ongoing use creates warmth. This is the top threat to electrical items. Power changes from the supply can also strain the inner film over time. In the end, these issues reduce the capacitance. That leads to the poor action you notice in your living area or sleep space.
When you check your fan's switch box, the mix of colored wires looks confusing. You need to know how these wires link for a good fix.
A 4-wire ceiling fan capacitor handles three speeds. One wire often acts as the shared line tied to the power source. The other three link to the speed control. Check the microfarad (µF) numbers on the tag. Then you can pair the old wire colors with the new ones. This keeps each speed working as planned.
A 5-wire ceiling fan capacitor holds two or three distinct capacitors in one case. This design offers detailed speed options. It also handles extra parts like lights or backward spin. Wiring needs close care. If you swap the shared wire with a speed wire by mistake, the fan will not work properly.
Some home fixers ask if they can make things simpler. It is possible if you know the inner setup and want just basic speeds. But experts advise against it. Moving from five wires to four cuts out key fan features. The best choice is to swap the broken part with one that has the same wire number.
Changing this part is an easy home task. Just stick to safety rules and note your steps.
Collect a solid screwdriver kit, wire cutters, wire caps, and electrical wrap. Your phone camera is the top tool. Snap clear shots of the starting wires before you unplug them. This prevents big problems later.
Never rely solely on the wall switch. Go to your home's main breaker box and turn off the power directly to the room. Once secured, use your screwdriver to remove the light kit or bottom cover of the fan to access the switch housing.
Locate the small, usually black, rectangular box. Take your reference photos now. Carefully unscrew the wire nuts connecting the capacitor wires to the fan's motor and switch wires. Snip the wires if they are soldered, leaving enough length to strip and connect the new unit.
Match the wires from your new SMILER capacitor to the corresponding fan wires based on your reference photos and the microfarad ratings. Twist the copper ends together securely and cap them with wire nuts, wrapping them in electrical tape for extra security. Carefully tuck the wires back into the housing and reattach the cover.

Replacement items vary in build. A top-grade one means you skip this job next warm season.
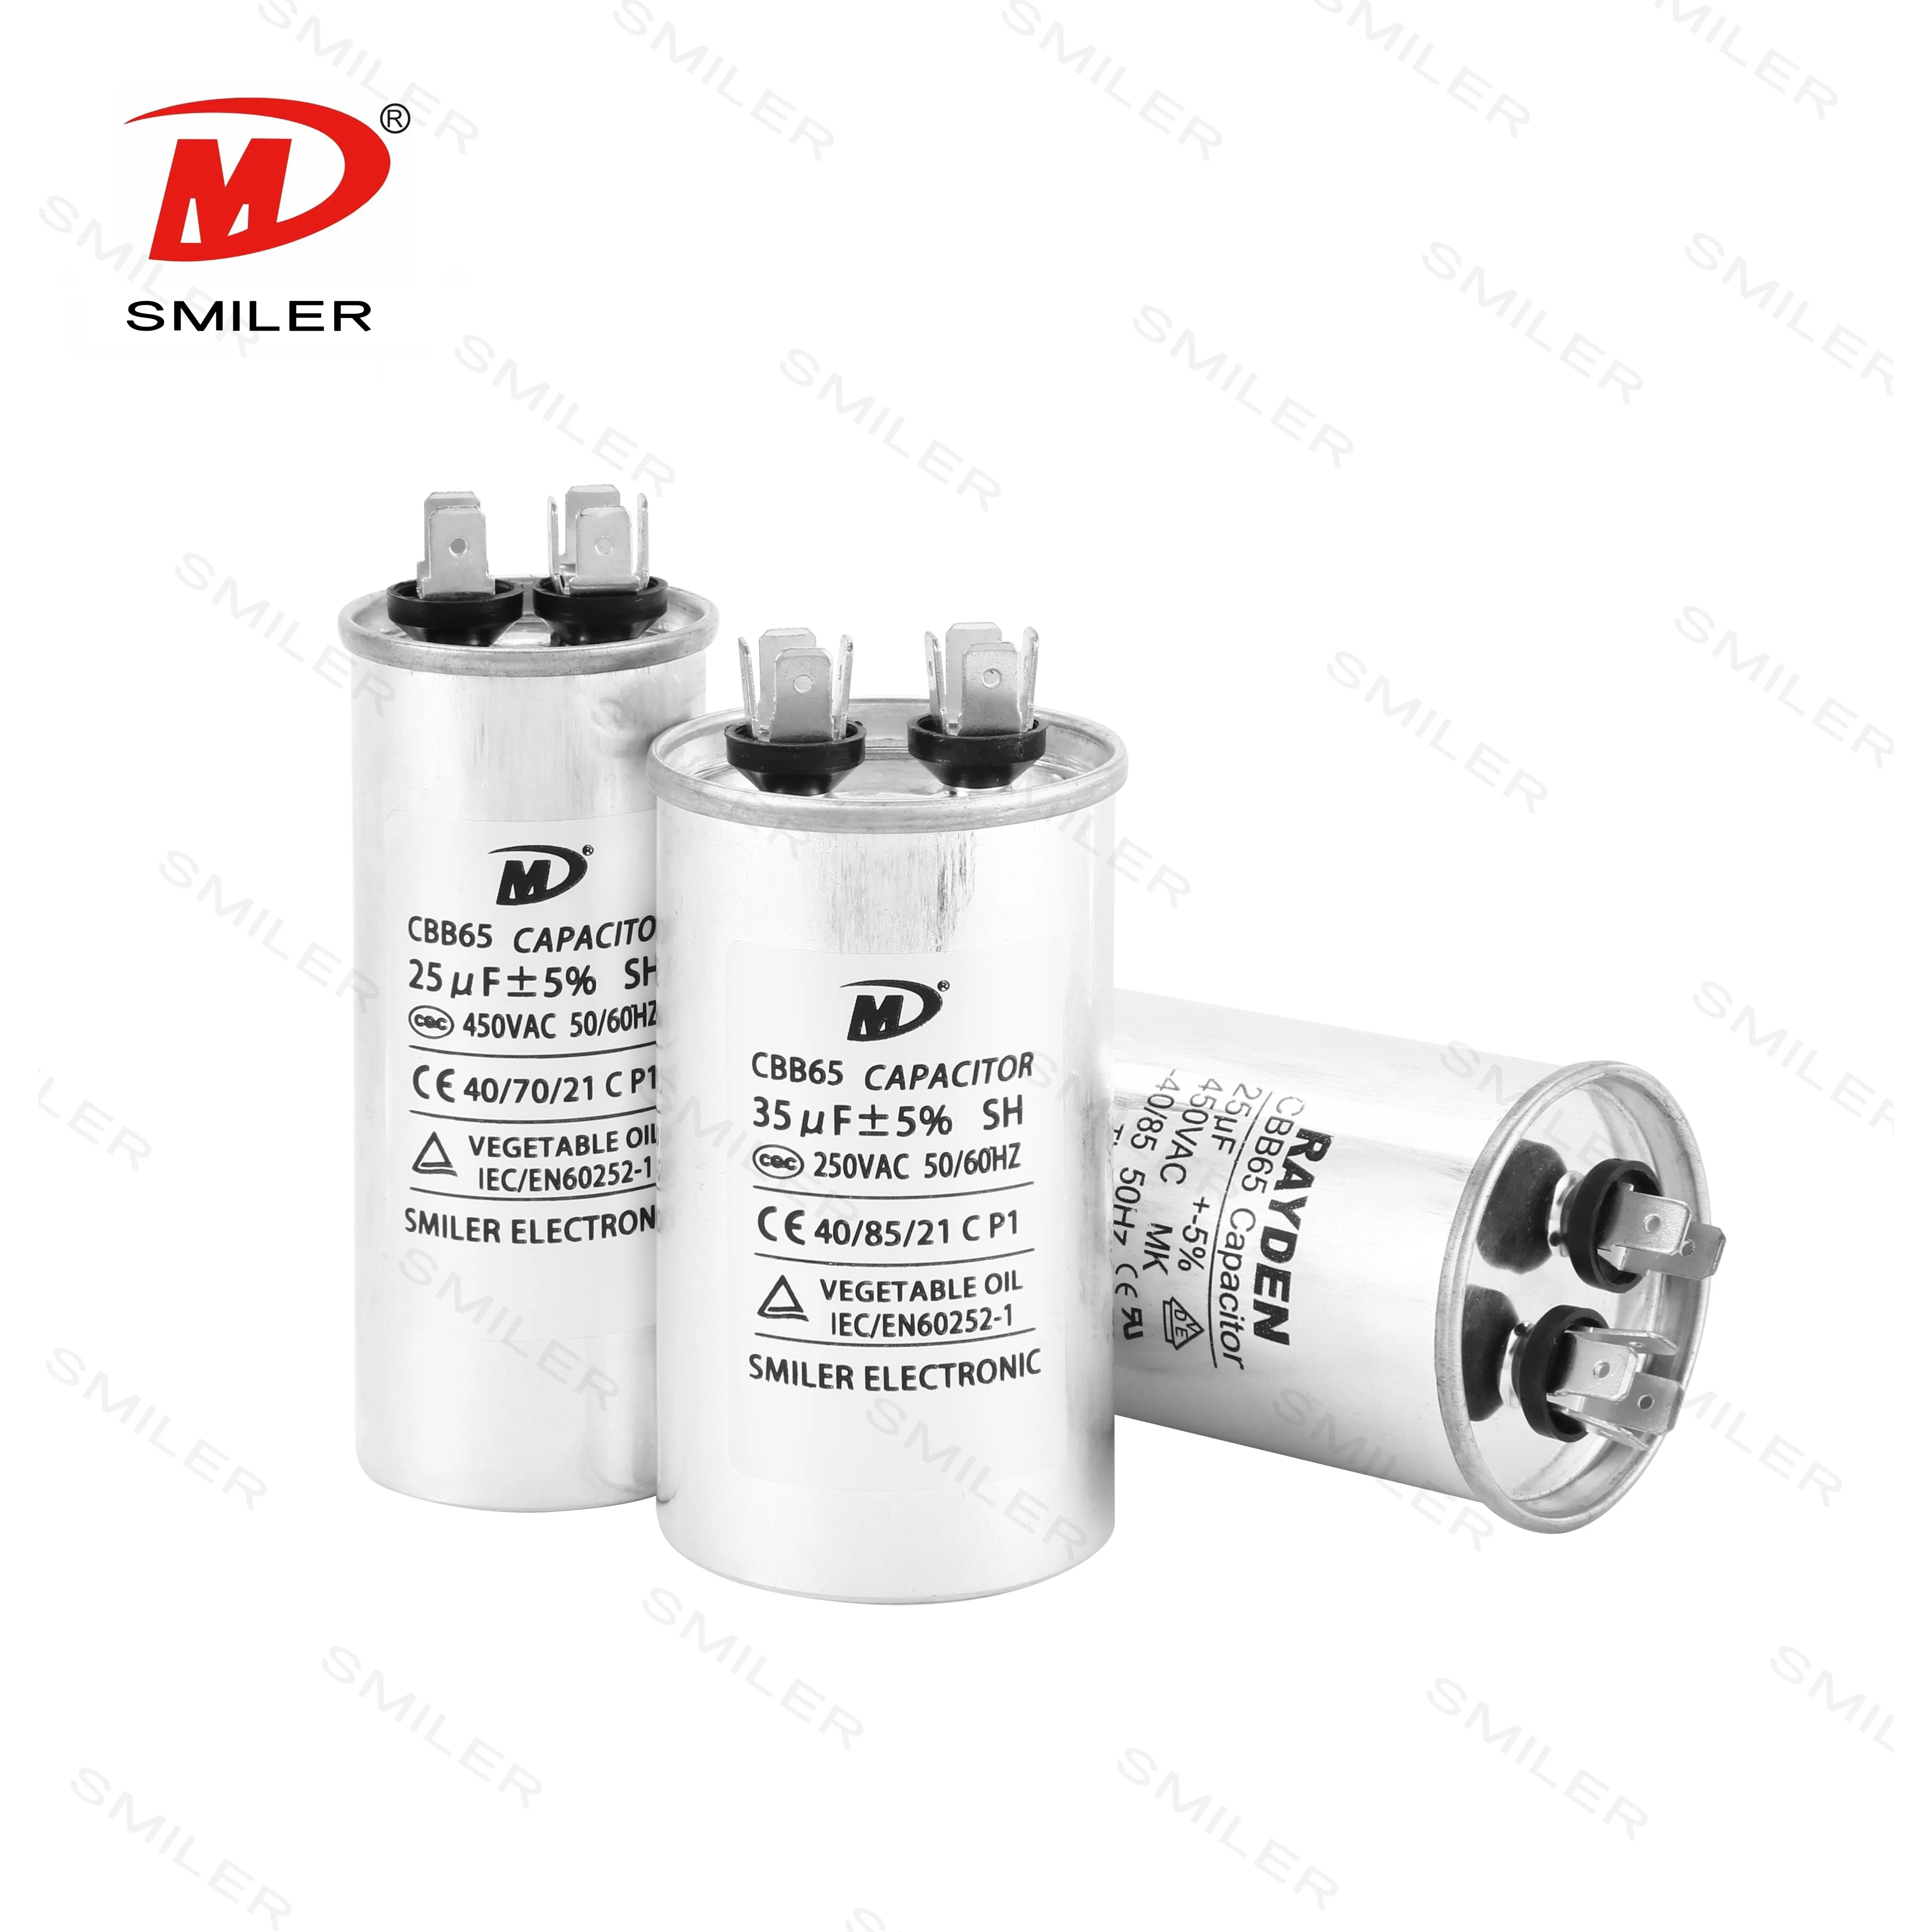
Check the tag on your old part always. If it lists 4.5µF/6µF/5µF, the new one must have those same values. Make sure the voltage, like 250VAC, matches or beats the first one.
Seek parts made with fine metallized film that has self-healing traits. These fix small power issues and keep the motor going steady. A strong, fire-resistant plastic case is key too. It stops fire risks during power jumps.
A basic fix can fail if you miss important points.
Putting in a part with a larger microfarad value does not speed up the fan. It heats the motor coils too much. This ruins the whole unit for good. Follow the maker's listed numbers every time.
Weak wire joins can spark. That creates flashes and fire chances. Check that your wire caps fit tightly. Ensure no bare copper touches the metal fan parts.
A: For a strong swap, pick brands that use metallized film tech and fire-safe covers. They work well. For example, a SMILER capacitor has strong self-healing traits and exact microfarad fits. It helps bring back your fan's normal action safely.
A: To pick the proper part, match three main details from your old one. These include the wire count, like 4-wire or 5-wire. Also match the microfarad (µF) values for each wire. Do not forget the voltage level in VAC. A part with a firm, warmth-proof case adds lasting trust.
A: No type is better on its own. They fit different fan builds. A 4-wire unit suits simple 3-speed fans. A 5-wire one works for fans with added controls, like reverse or built-in lights. Swap your old part with one that has the same wire setup to keep all features.
A: No, never raise the microfarad value. A higher rating than your fan motor expects pulls in excess current. This causes bad heating and lasting harm to the motor.
A: Leading makers stress strict checks and modern making methods. Ones like SMILER capacitor excel through years of skill in film tech. They provide tough, enduring items that fit the tough needs of home gear worldwide.
Mastering AC to DC Rectifier with Capacitor Techniques
Understanding How DC Current in Capacitor Initiates Charging
Analyzing Resistor and Capacitor in Parallel for DC Circuit Optimization
Exploring Capacitor in DC Analysis: Practical Circuit Insights
CBB65 250VAC Capacitor Explained: What Every Professional Should Know


 Add
Building 12,Huazhi Technology Innovation Center,28 Sanle East Road,Beijiao,Foshan,Guangdong,China
Add
Building 12,Huazhi Technology Innovation Center,28 Sanle East Road,Beijiao,Foshan,Guangdong,China
 Phone
+86 18007576965 / 0757-22391591
Phone
+86 18007576965 / 0757-22391591
 Email
ari@sml-cap.cn
Email
ari@sml-cap.cn


