

In HVAC systems, the structure is quite detailed. The AC Filter Capacitor serves as a quiet power source in these systems. It works as a small energy storage unit. This unit supplies the needed phase shift in current. The shift starts the induction motors properly. Without this important component, the compressor and fan motors cannot gain the starting torque. They need this torque to overcome mechanical resistance. The capacitor keeps the refrigeration cycle running smoothly. It helps your system cool the space in an effective and dependable manner.

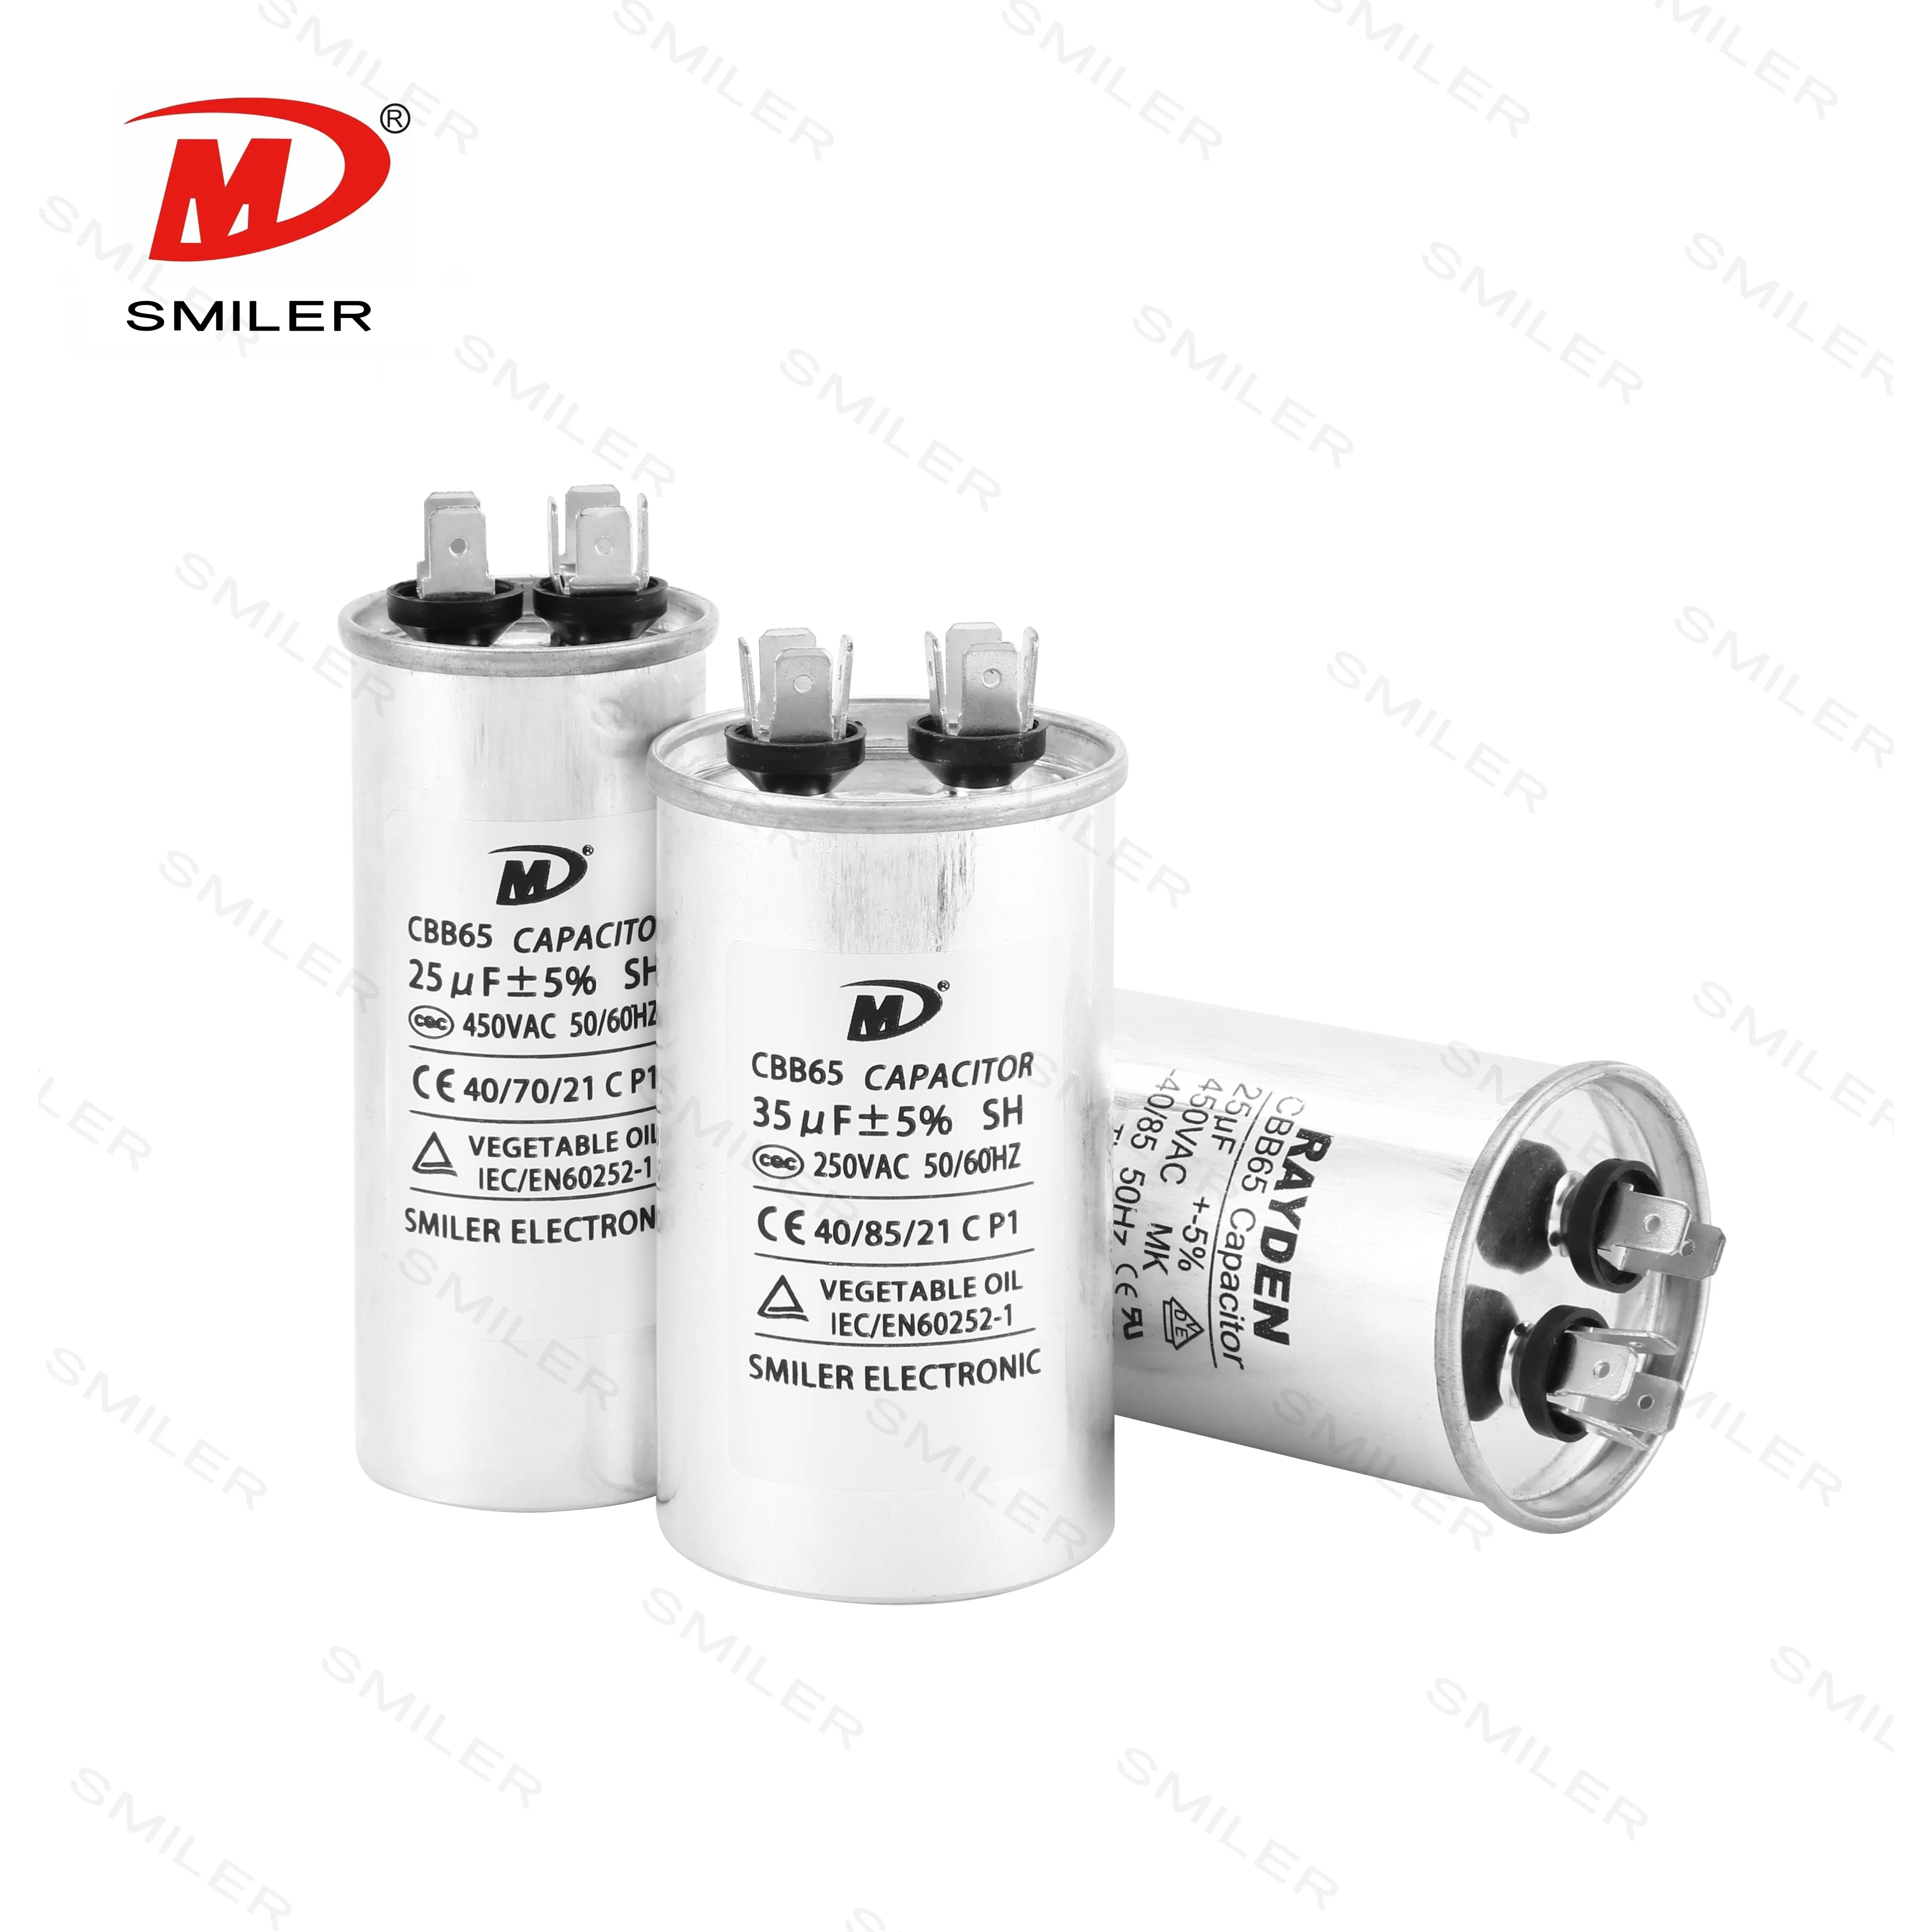
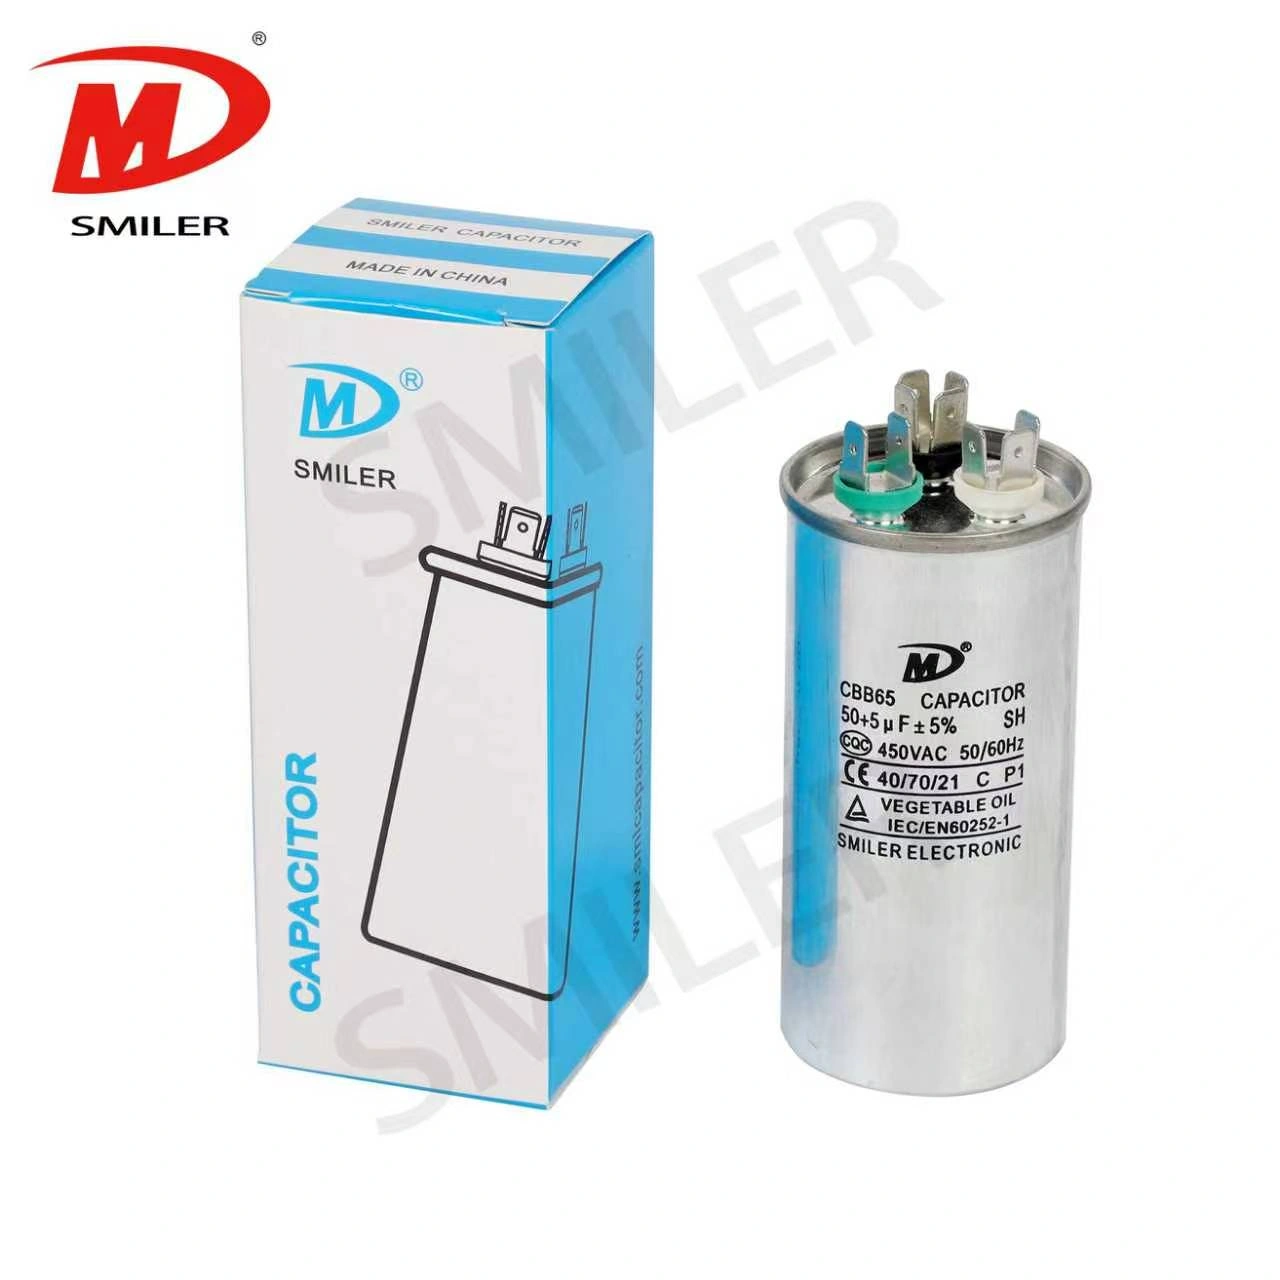
The market usually divides these components into three main groups. The Start Capacitor delivers a strong torque boost during short initial periods. The Run Capacitor supports ongoing operation. It helps maintain efficiency and power factor. The Dual Capacitor has become the common choice for many residential units. This Dual Capacitor combines start and run functions in one housing. The design greatly reduces wiring complexity. It also saves space inside the outdoor unit.
Early detection of capacitor failure prevents a complete system shutdown. An outdoor unit may produce a constant humming sound while the fan stays still. Cooling output may decrease sharply in some cases. These signs point to the capacitor as the main issue. A physical check often gives clear clues. If the top looks rounded, swollen, or shows oil leakage, then internal materials have probably been damaged by heat or excess voltage. Immediate replacement becomes necessary in these situations.
Power to the HVAC system may be cut off. Even then, the AC Capacitor can hold a dangerous charge. This fact makes proper discharge the most important rule for technicians and DIY users. The capacitor must be discharged with a high-impedance tool before any terminals are touched. Skipping this step can cause a painful shock. It may also harm nearby electronic control boards.
Professional work requires suitable tools. A good multimeter should measure capacitance accurately. An insulated screwdriver helps with discharge. Safety gloves and protective eyewear are also necessary. The work area must stay dry and well insulated. These conditions protect the operator and the sensitive wiring inside the system.
Carelessness creates the biggest safety risk. Some people assume the capacitor is safe after power has been off for a few minutes. This assumption is a serious error. Forgetting to record the wiring setup before removal often leads to mistakes during reconnection. Always confirm that the voltage reads zero before any physical work begins.
Turn off the main circuit breaker first. After the service panel is removed, take a clear photo of the existing wiring. Terminals usually carry marks such as HERM for compressor, FAN for fan, and C for common. Mixing up these terminals causes most installation mistakes. Such errors can damage the new component right away.
Wait until the capacitor is fully discharged. Then loosen the mounting bracket carefully. Use needle-nose pliers to remove the wires. Pull the spade connectors gently. Do not pull the wires directly. This habit can weaken electrical connections over time.
Treat a failed capacitor as electronic waste. Put it in a non-conductive container. Make sure the terminals cannot touch metal objects. If leakage has occurred, wear gloves during handling. This step avoids contact with internal fluids.
Set the multimeter to capacitance mode. Measure the microfarads (uF) of the capacitor in question. If the reading differs from the labeled value by more than 5 or 10 percent, then the internal material has weakened. Replacing a weak capacitor early can protect the life of the expensive compressor motor.
The replacement must match the original capacitance exactly. The voltage rating should equal or exceed the original rating. For example, a 440V unit works for a 370V application. Never choose a lower rating. Lower voltage leads to quick failure or rupture.
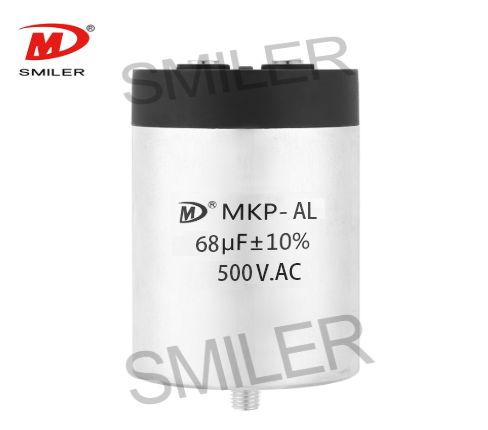
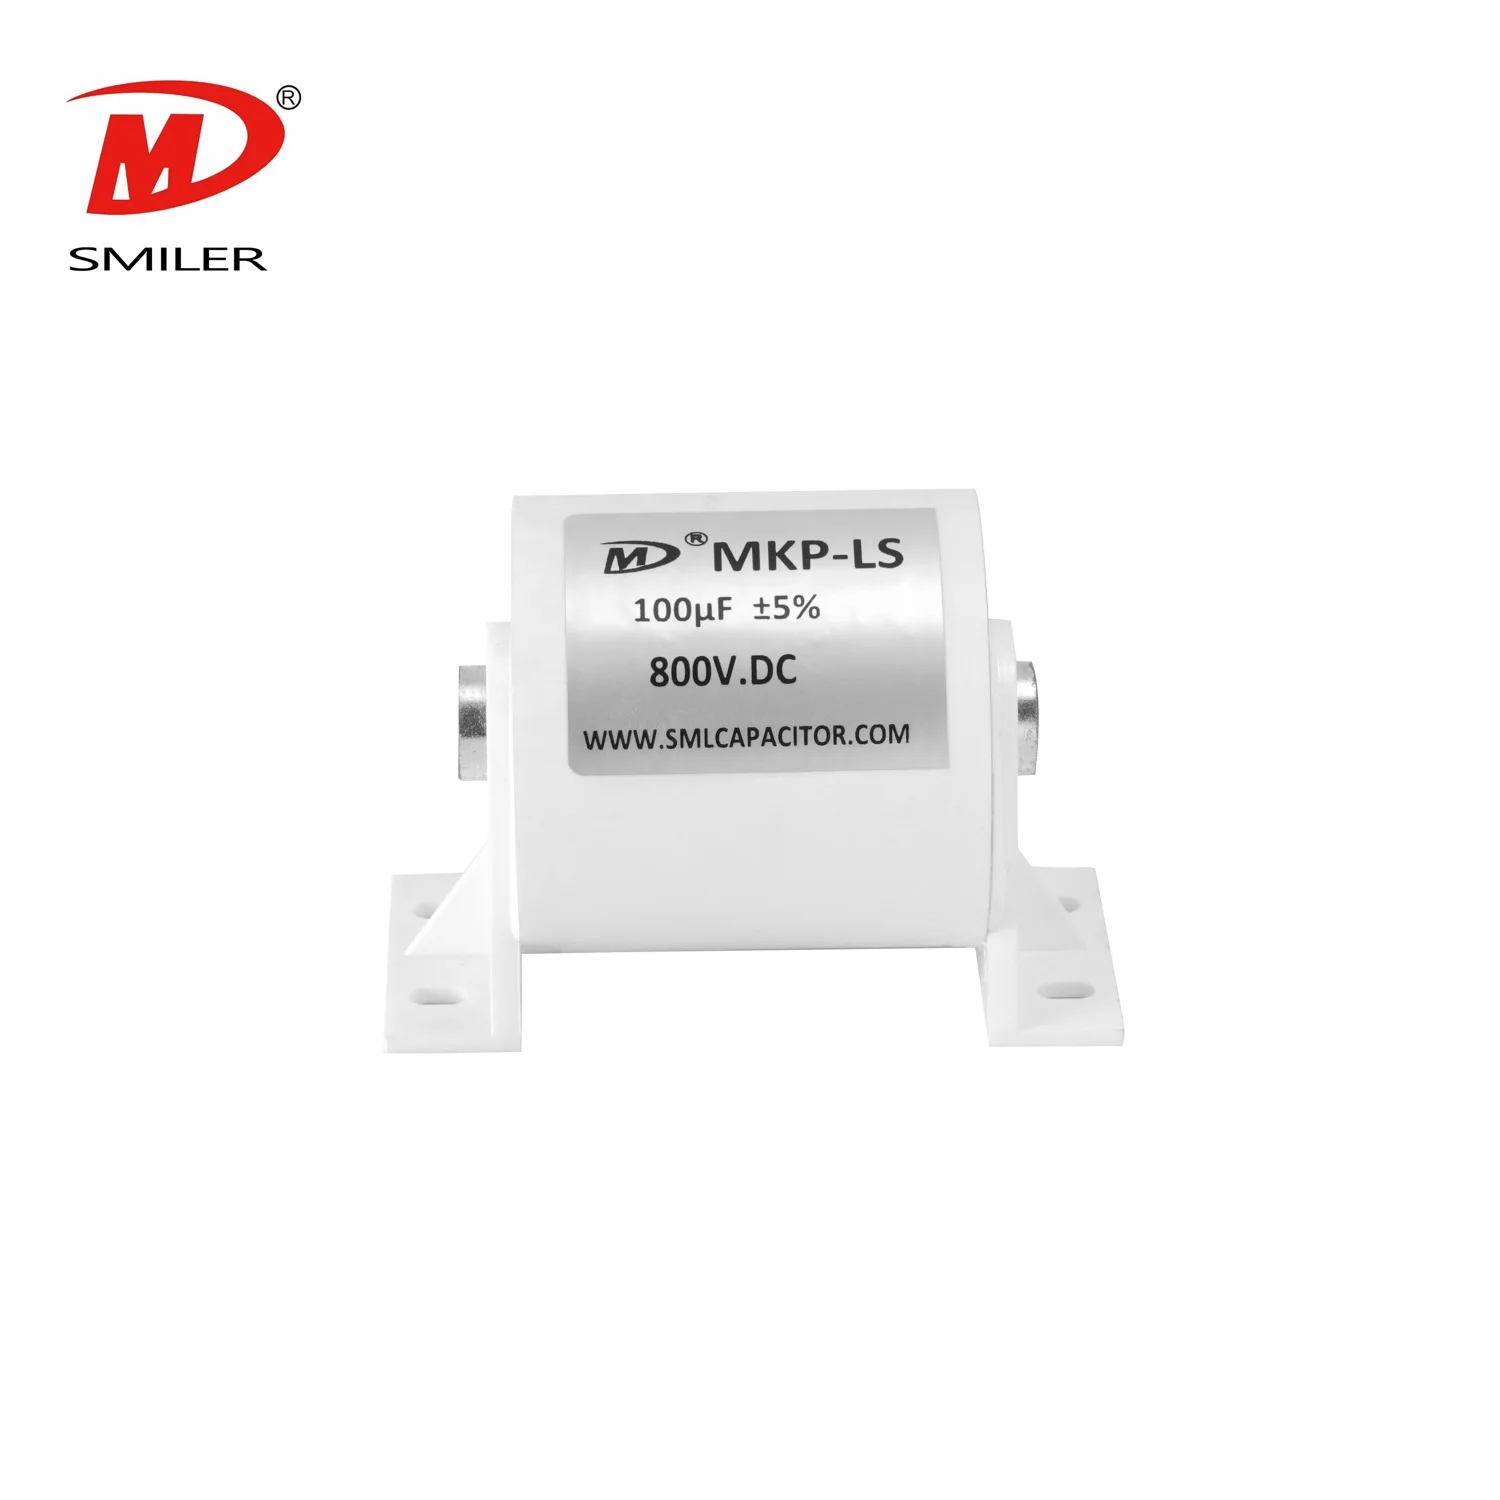
Choosing the right part is vital for long system life. Those who want durable, high-performance options should consider professional solutions from experienced makers like SMILER capacitor. Our range includes strong choices for power electronics. One example is the AC-Filter Capacitor (Dry-Type, Aluminum case). It uses metallized polypropylene film and resin filling (UL94 V-0). This design manages high Irms current at frequencies up to 20kHz. The component suits inverters and UPS systems well. For power conversion needs that demand extra reliability, their Pin-Type Plastic case (PPS) capacitors offer excellent moisture resistance. Such quality parts help the system manage power changes without early breakdown.

Rust and corrosion often appear in outdoor units. A seized bracket may need a short application of penetrating lubricant. This approach allows removal without heavy force. Excessive force could harm condenser fins or coolant lines.
The unit may not start after installation. The fan might turn in the wrong direction. These signs mean the wiring should be checked at once. Miswiring the common fan or herm terminals often causes new parts to seem dead on arrival.
Run a functional test after installation. A good replacement produces an immediate, smooth motor start with no strange noises. Observe the system for the first 15 minutes. This check ensures no overheating develops. It also confirms that the new AC capacitor has been integrated correctly.
A: A failing AC capacitor often creates a humming noise from the outdoor unit while the fan or compressor stays still. Cooling performance may drop noticeably. A bulging top or leaking oil provides clear proof of failure.
A: The voltage rating must equal or exceed the original specification. An HVAC capacitor replacement with a lower voltage rating can break down the dielectric. This breakdown may cause short circuits or electrical fires.
A: Capacitance controls the phase shift supplied to the motor. An incorrect value prevents proper torque delivery. The motor then draws too much current. It overheats and may burn out the windings.
A: Use an insulated high-resistance tool to connect the terminals. This method lets stored energy release slowly. Never assume the capacitor holds no charge. It can retain dangerous energy even after power disconnection.
A: Quality capacitors include strong self-healing metallized films and stable internal filling. SMILER capacitor products often feature resin-filled designs. Superior construction improves heat dissipation and electrical stability. These traits reduce premature failure that occurs with lower-grade parts.
Exploring How AC Capacitors and DC Capacitors Function Differently
What Drives AC Capacitor Cost? A Comparison with DC Capacitors
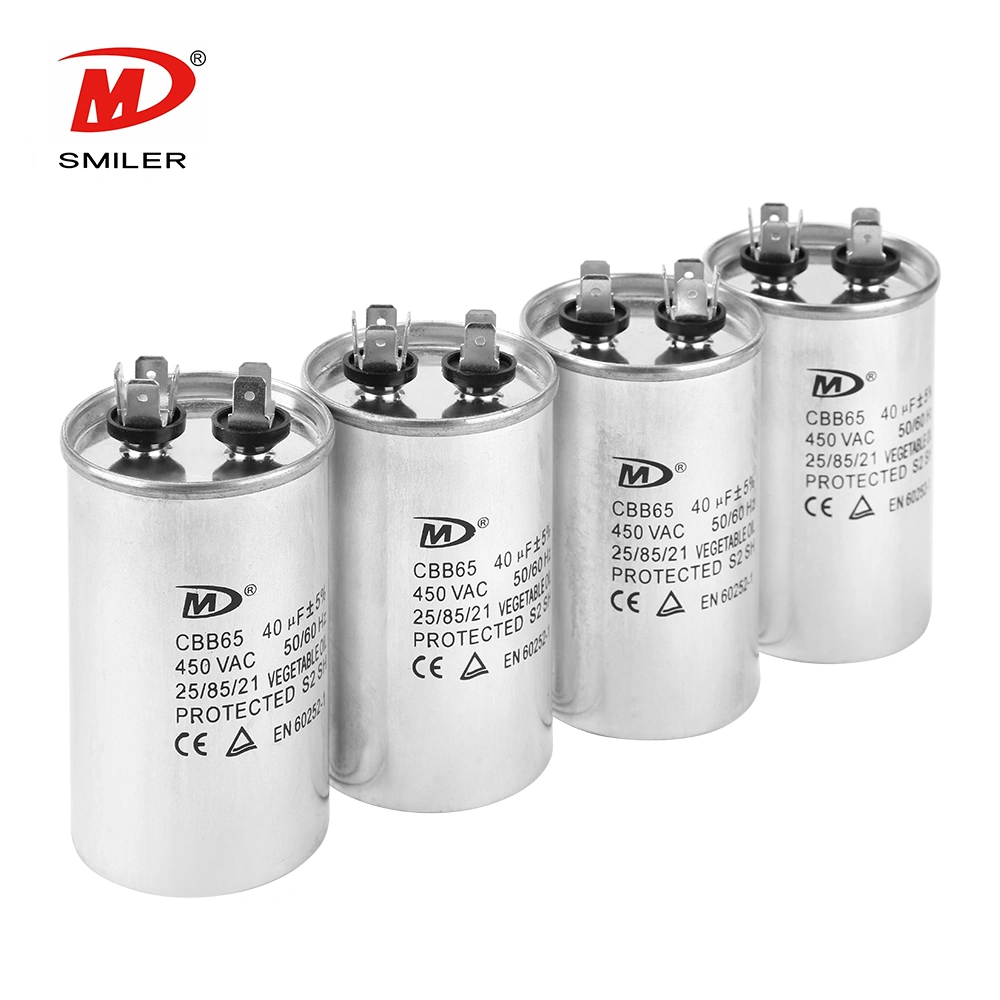
CBB65 250VAC Capacitor Explained: What Every Professional Should Know
Top Rated AC Capacitors 2026: The Ultimate Industry Sourcing Guide
AC Capacitor Leaking Oil: Top 5 Warning Signs of Imminent Failure


 Add
Building 12,Huazhi Technology Innovation Center,28 Sanle East Road,Beijiao,Foshan,Guangdong,China
Add
Building 12,Huazhi Technology Innovation Center,28 Sanle East Road,Beijiao,Foshan,Guangdong,China
 Phone
+86 18007576965 / 0757-22391591
Phone
+86 18007576965 / 0757-22391591
 Email
ari@sml-cap.cn
Email
ari@sml-cap.cn


