

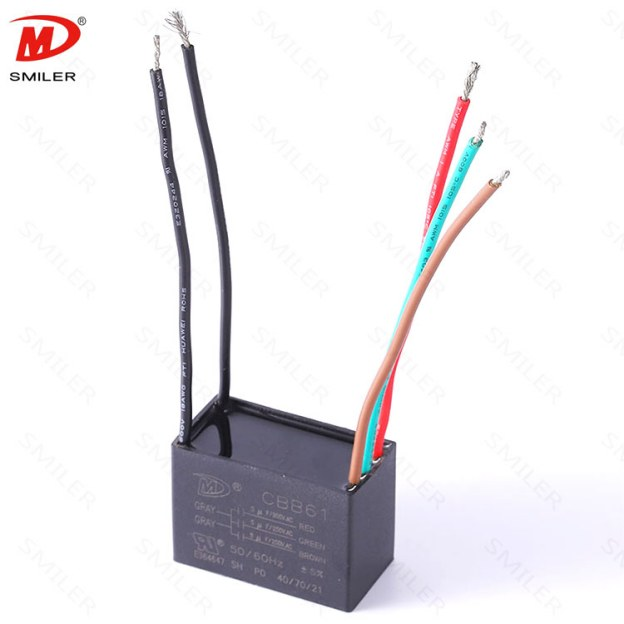
A fan that hums at power-on and refuses to start sends people straight to the capacitor. The hard part isn't the meter work. It's deciding, without taking the motor apart, whether the part is actually the problem or you're about to buy a component you don't need. Figuring out how to test a fan capacitor without guessing is most of the repair, and once you've done it twice it takes about ten minutes at the bench.
We run this same sequence on basically every fan that comes to our counter, so this is the version we'd walk you through, in the order we do it, including the parts we've watched people skip and pay for.
You'll want a digital multimeter with a capacitance range, the µF setting, and most modern meters have one, though if yours only does resistance you can still run a rough test that we'll cover below. You also need an insulated screwdriver or a resistor for discharging and a small screwdriver for the canopy, and before you touch anything you should photograph the wiring, because on a multi-speed fan that last item is not optional, and we've seen a whole repair ruined by someone who skipped it and then reassembled the speed selector one wire off.
We start at the breaker, not the wall switch. The breaker for the fan goes off, and we don't trust the switch, because it opens one wire and can leave the connection point live. Then we confirm with a non-contact voltage tester that the wiring in the canopy is actually dead. That's the step that saves fingers, and it's the one people rush through most.
The power being off doesn't make the capacitor safe to touch, because it can still hold a charge that will bite you, which is exactly why the next step exists. We bridge the two terminals with the insulated screwdriver, and if any charge is left you'll get a small spark, and that spark is the point, because it tells you the part had something stored. Let it sit a moment, then check with the meter in DC-volts mode until you see no voltage across the terminals, since that reading, rather than the absence of a spark, is what tells you the cap is actually dead.
This is the most-ignored step in fan repair, and it shows up constantly in the questions our device manuals get answered. Skip it and the best case is a wrong reading that sends you chasing a part that was never bad. The worst case is a zap across the bench that makes you rethink your whole approach to capacitors, and for a ten-minute job that's not a trade we like to see people make.
For a number you can trust, we disconnect at least one lead from the rest of the wiring, because in-circuit capacitance gets thrown off by parallel paths through the windings and the switch wiring, and a value measured behind all that just tells you nothing. You don't need to unmount the can from the fan for this, though, which is what keeps the job small: clip the lead at the terminal, and the meter reads the part on its own instead of the part plus the fan's wiring sitting in parallel behind it.
Then we put the meter in capacitance mode, look for the µF marking or the small capacitor symbol, and pick the range nearest the value printed on the can, because reading a 5 µF cap on the 20 µF range is how people miss a half-dead part. Fan run capacitors are non-polar, so it doesn't matter which lead goes where, which also means there's very little to get wrong at this step. Give the reading a few seconds to settle, which is normal at the microfarad scale, and then write the number down before you put the can back, since you'll want it next to the label value in a minute.
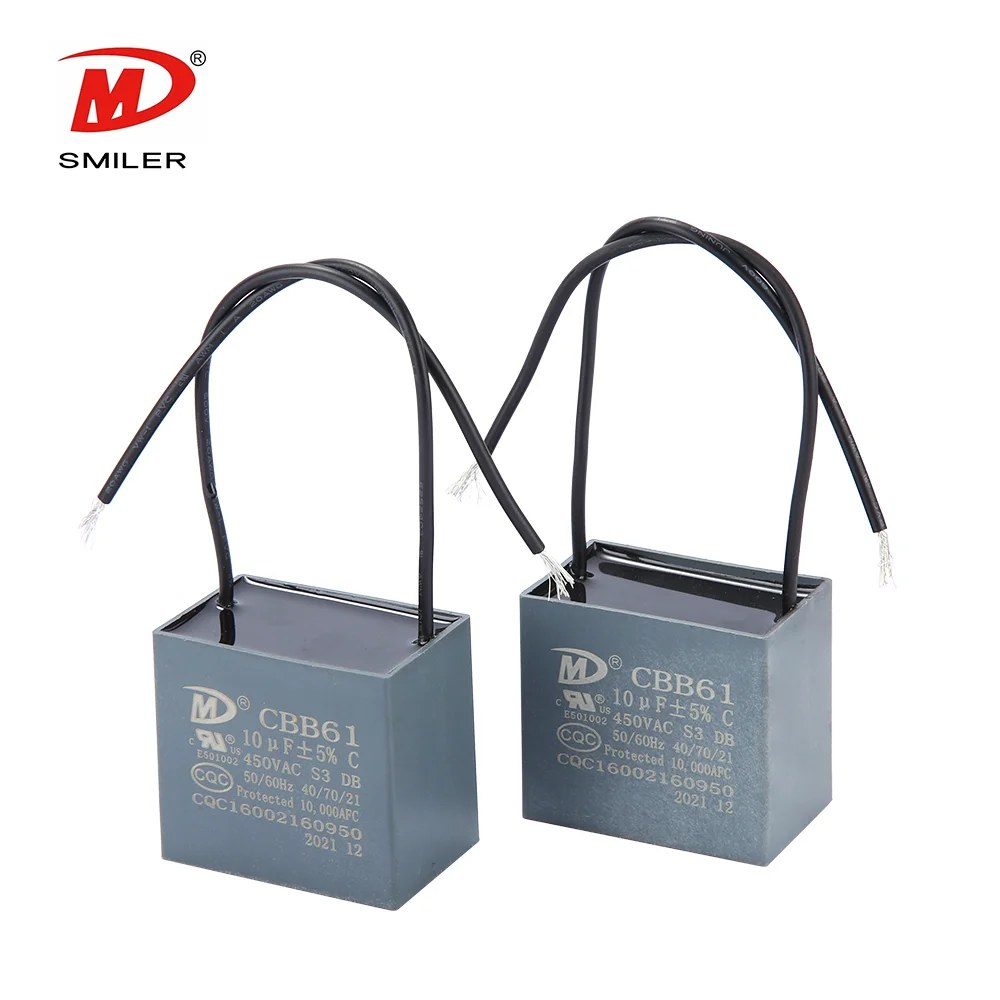
This is where the diagnosis actually happens, and where the value you just wrote down meets the µF on the can. If the reading is within a few percent of the marked value, the part is doing its job and the fault is somewhere else in the fan, so a clean number here is actually useful information and not a dead end. If it's more than roughly 10 percent below the marked value, it has aged out of tolerance and we replace it, because a film run capacitor that has drifted low starves the auxiliary winding, which is exactly why the fan runs slow or only on the top speed.
A dead zero or "OL" the whole time means the part is open. It's not storing anything, there's no phase shift, and the motor can't start without a hand push. And if the reading fluctuates and won't sit still, that usually points at a leaky or degrading dielectric, and we treat it as failed rather than chasing a moving number, because a capacitor that can't hold a stable value will fail on the bench the way it fails on the fan.
The open pattern and the well-below-spec pattern are the two that make a fan hum without starting, and they're the two we see most often on the bench. If your number is clean and within a few percent of the label, the capacitor probably isn't your problem, and you should be looking at the switch, the windings, or the supply before you spend money on a new part.
Resistance mode still tells us a fair amount, so you're not stuck just because the meter is a basic one. With the meter on a high-resistance setting and the cap discharged, we touch the probes to the terminals and watch what happens, because the behavior tells you the story even when the number doesn't. A healthy part shows a reading that starts low and climbs as the meter's own battery charges it, then settles somewhere up the scale. A steady low value the whole time means it's shorted, and straight to "OL" with no climb at all means it's open.
Neither is as precise as a real µF number, but both will confirm a hard failure, and a confirmed hard failure is enough to justify the replacement. If the resistance test looks marginal instead, we borrow or buy a meter with a capacitance range before we write the motor off, because a half-answer at this point is the most expensive kind.
Testing the capacitor is fast, but it's not the whole job, and we've sent enough people down the wrong path to know when to stop, because fans fail for reasons that have nothing to do with the part. A fan that's dead silent, no hum and no response at all, is usually a tripped thermal overload or an open main winding, and the cap test won't find it, so we measure the winding resistance instead, and a truly open main winding reads "OL," which means that motor needs replacing rather than a new cap. If the fan spins freely by hand but has no torque, that points at the winding or the rotor, not the capacitor, and if the cap reads fine but the fan still won't start, we check the switch assembly, the speed selector, and the supply voltage at the motor before we touch anything else.
Our what-is-a-fan-capacitor post has the full failure-symptom matrix, so you can match the symptom you're actually seeing to the part that causes it, and if the reading does point at the run capacitor, our run capacitor explained guide has the details on what to look for when you order the replacement.
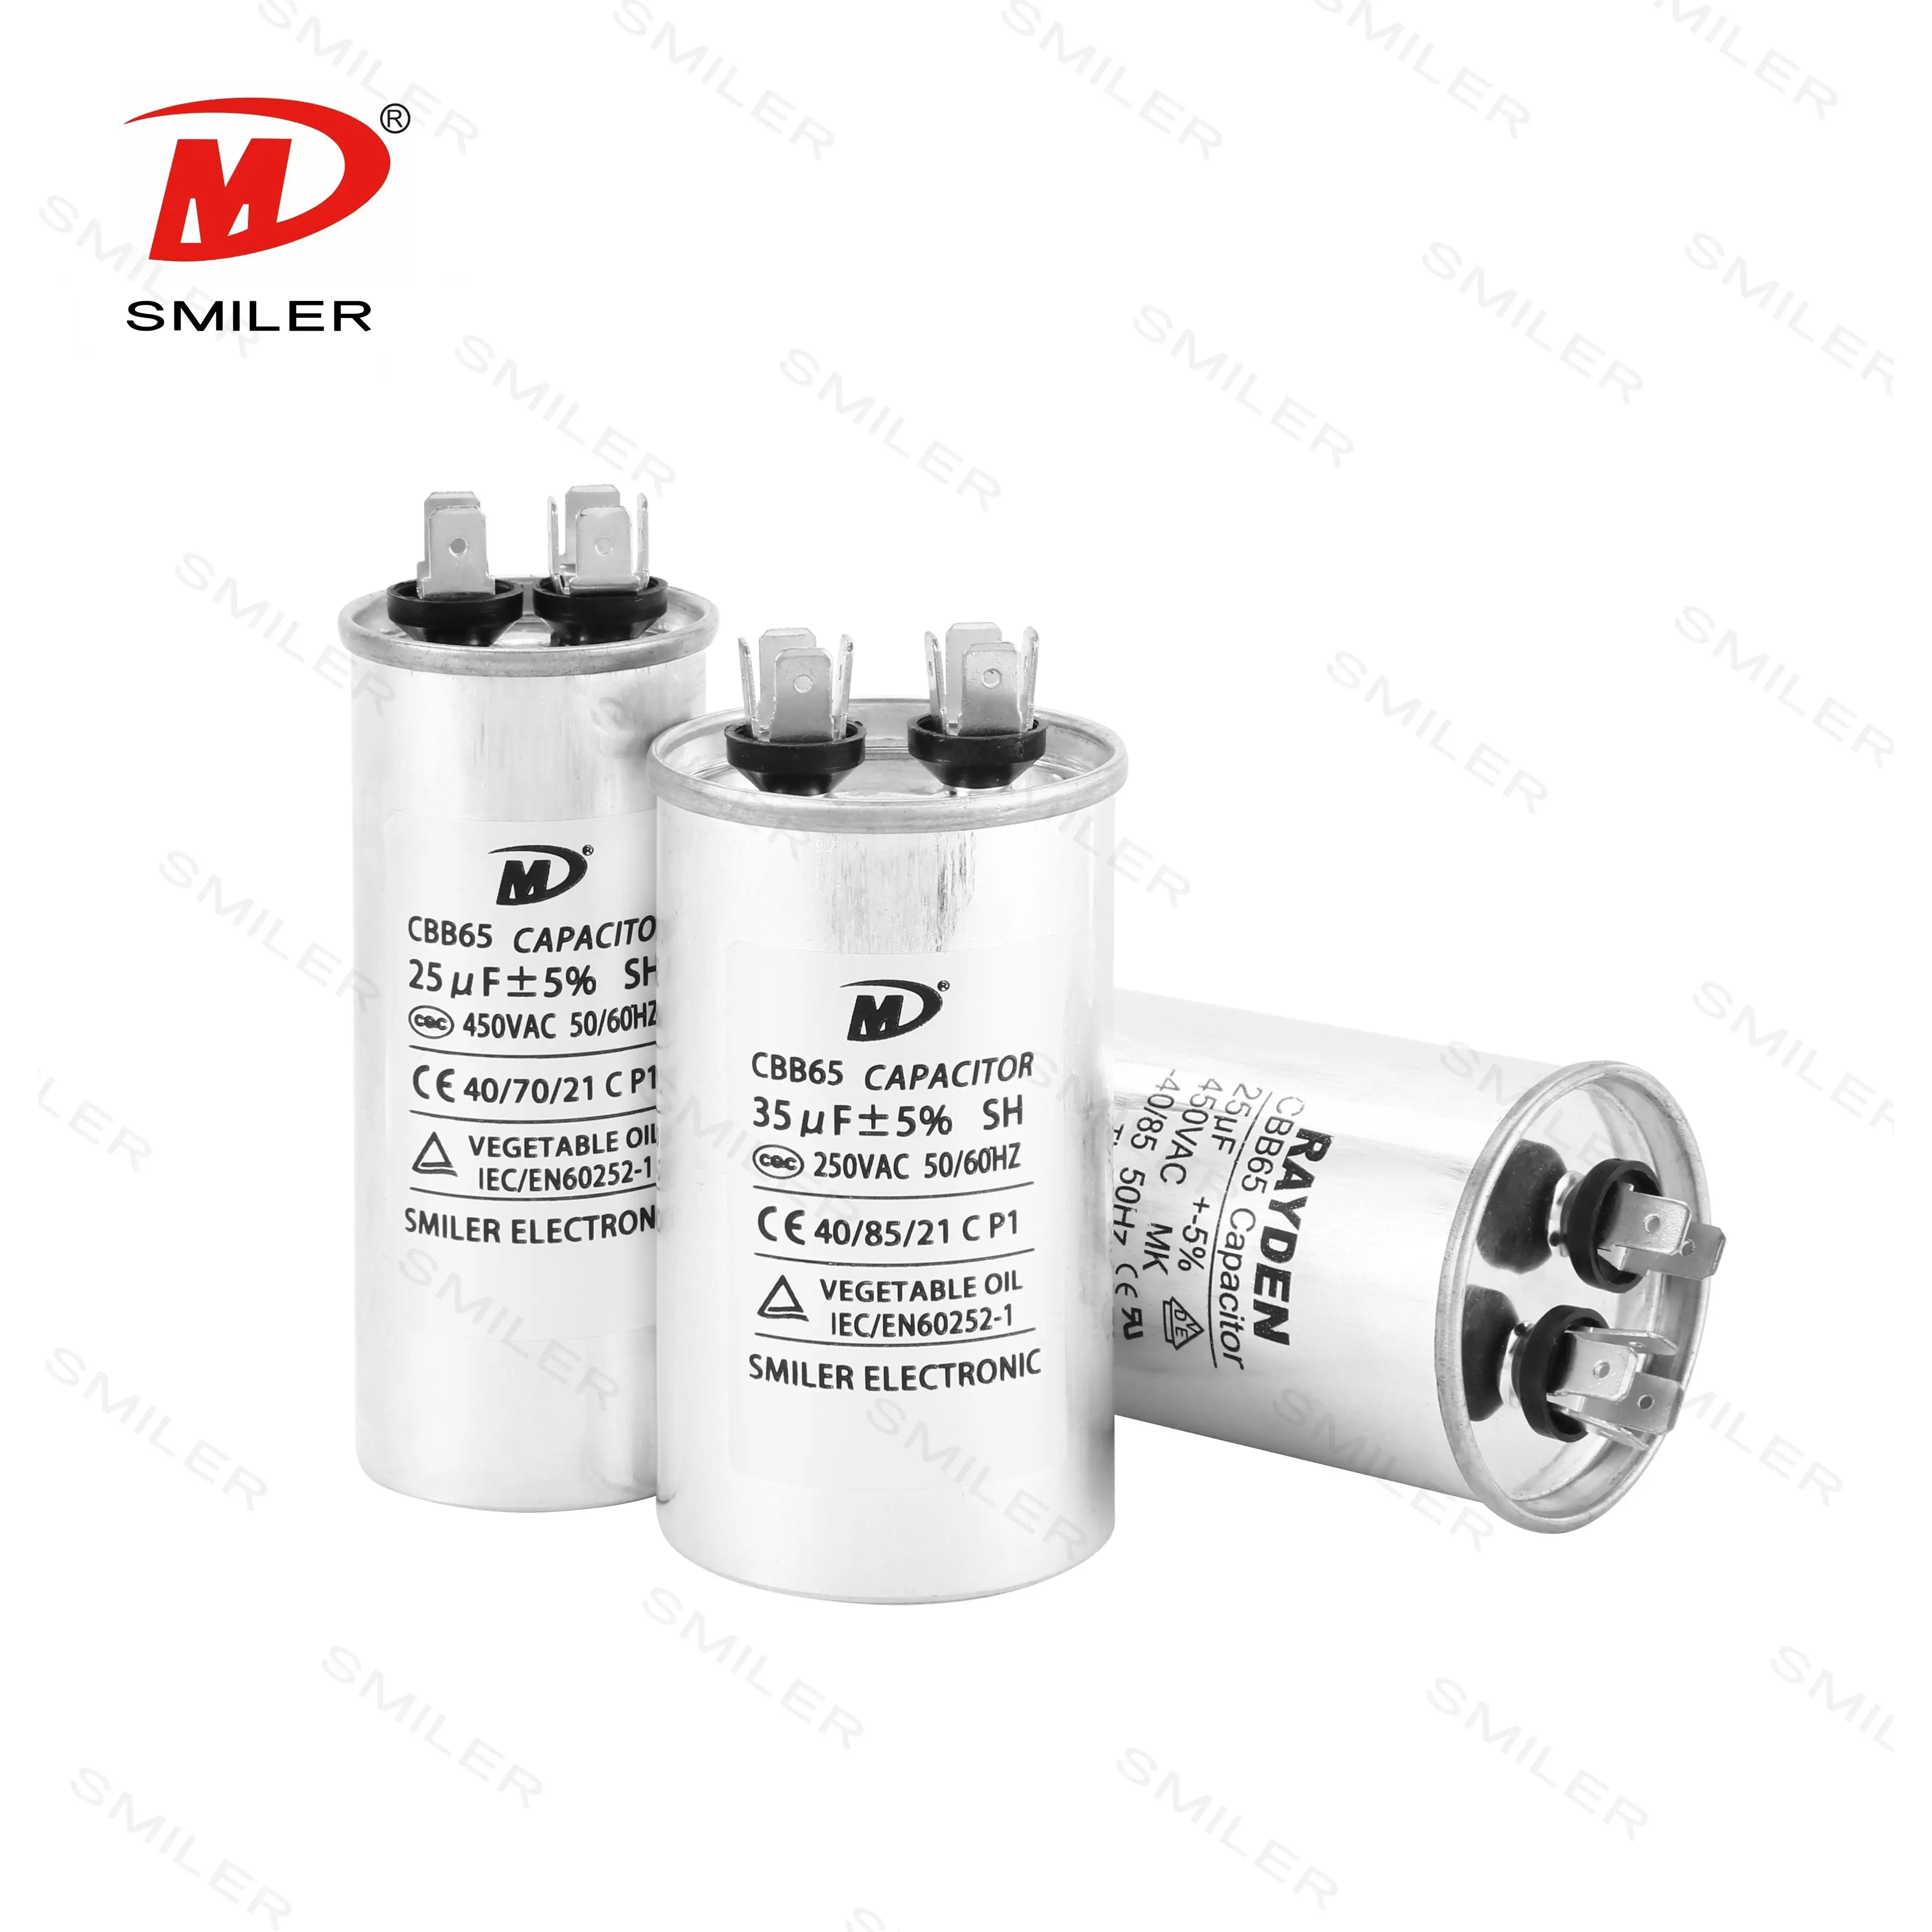
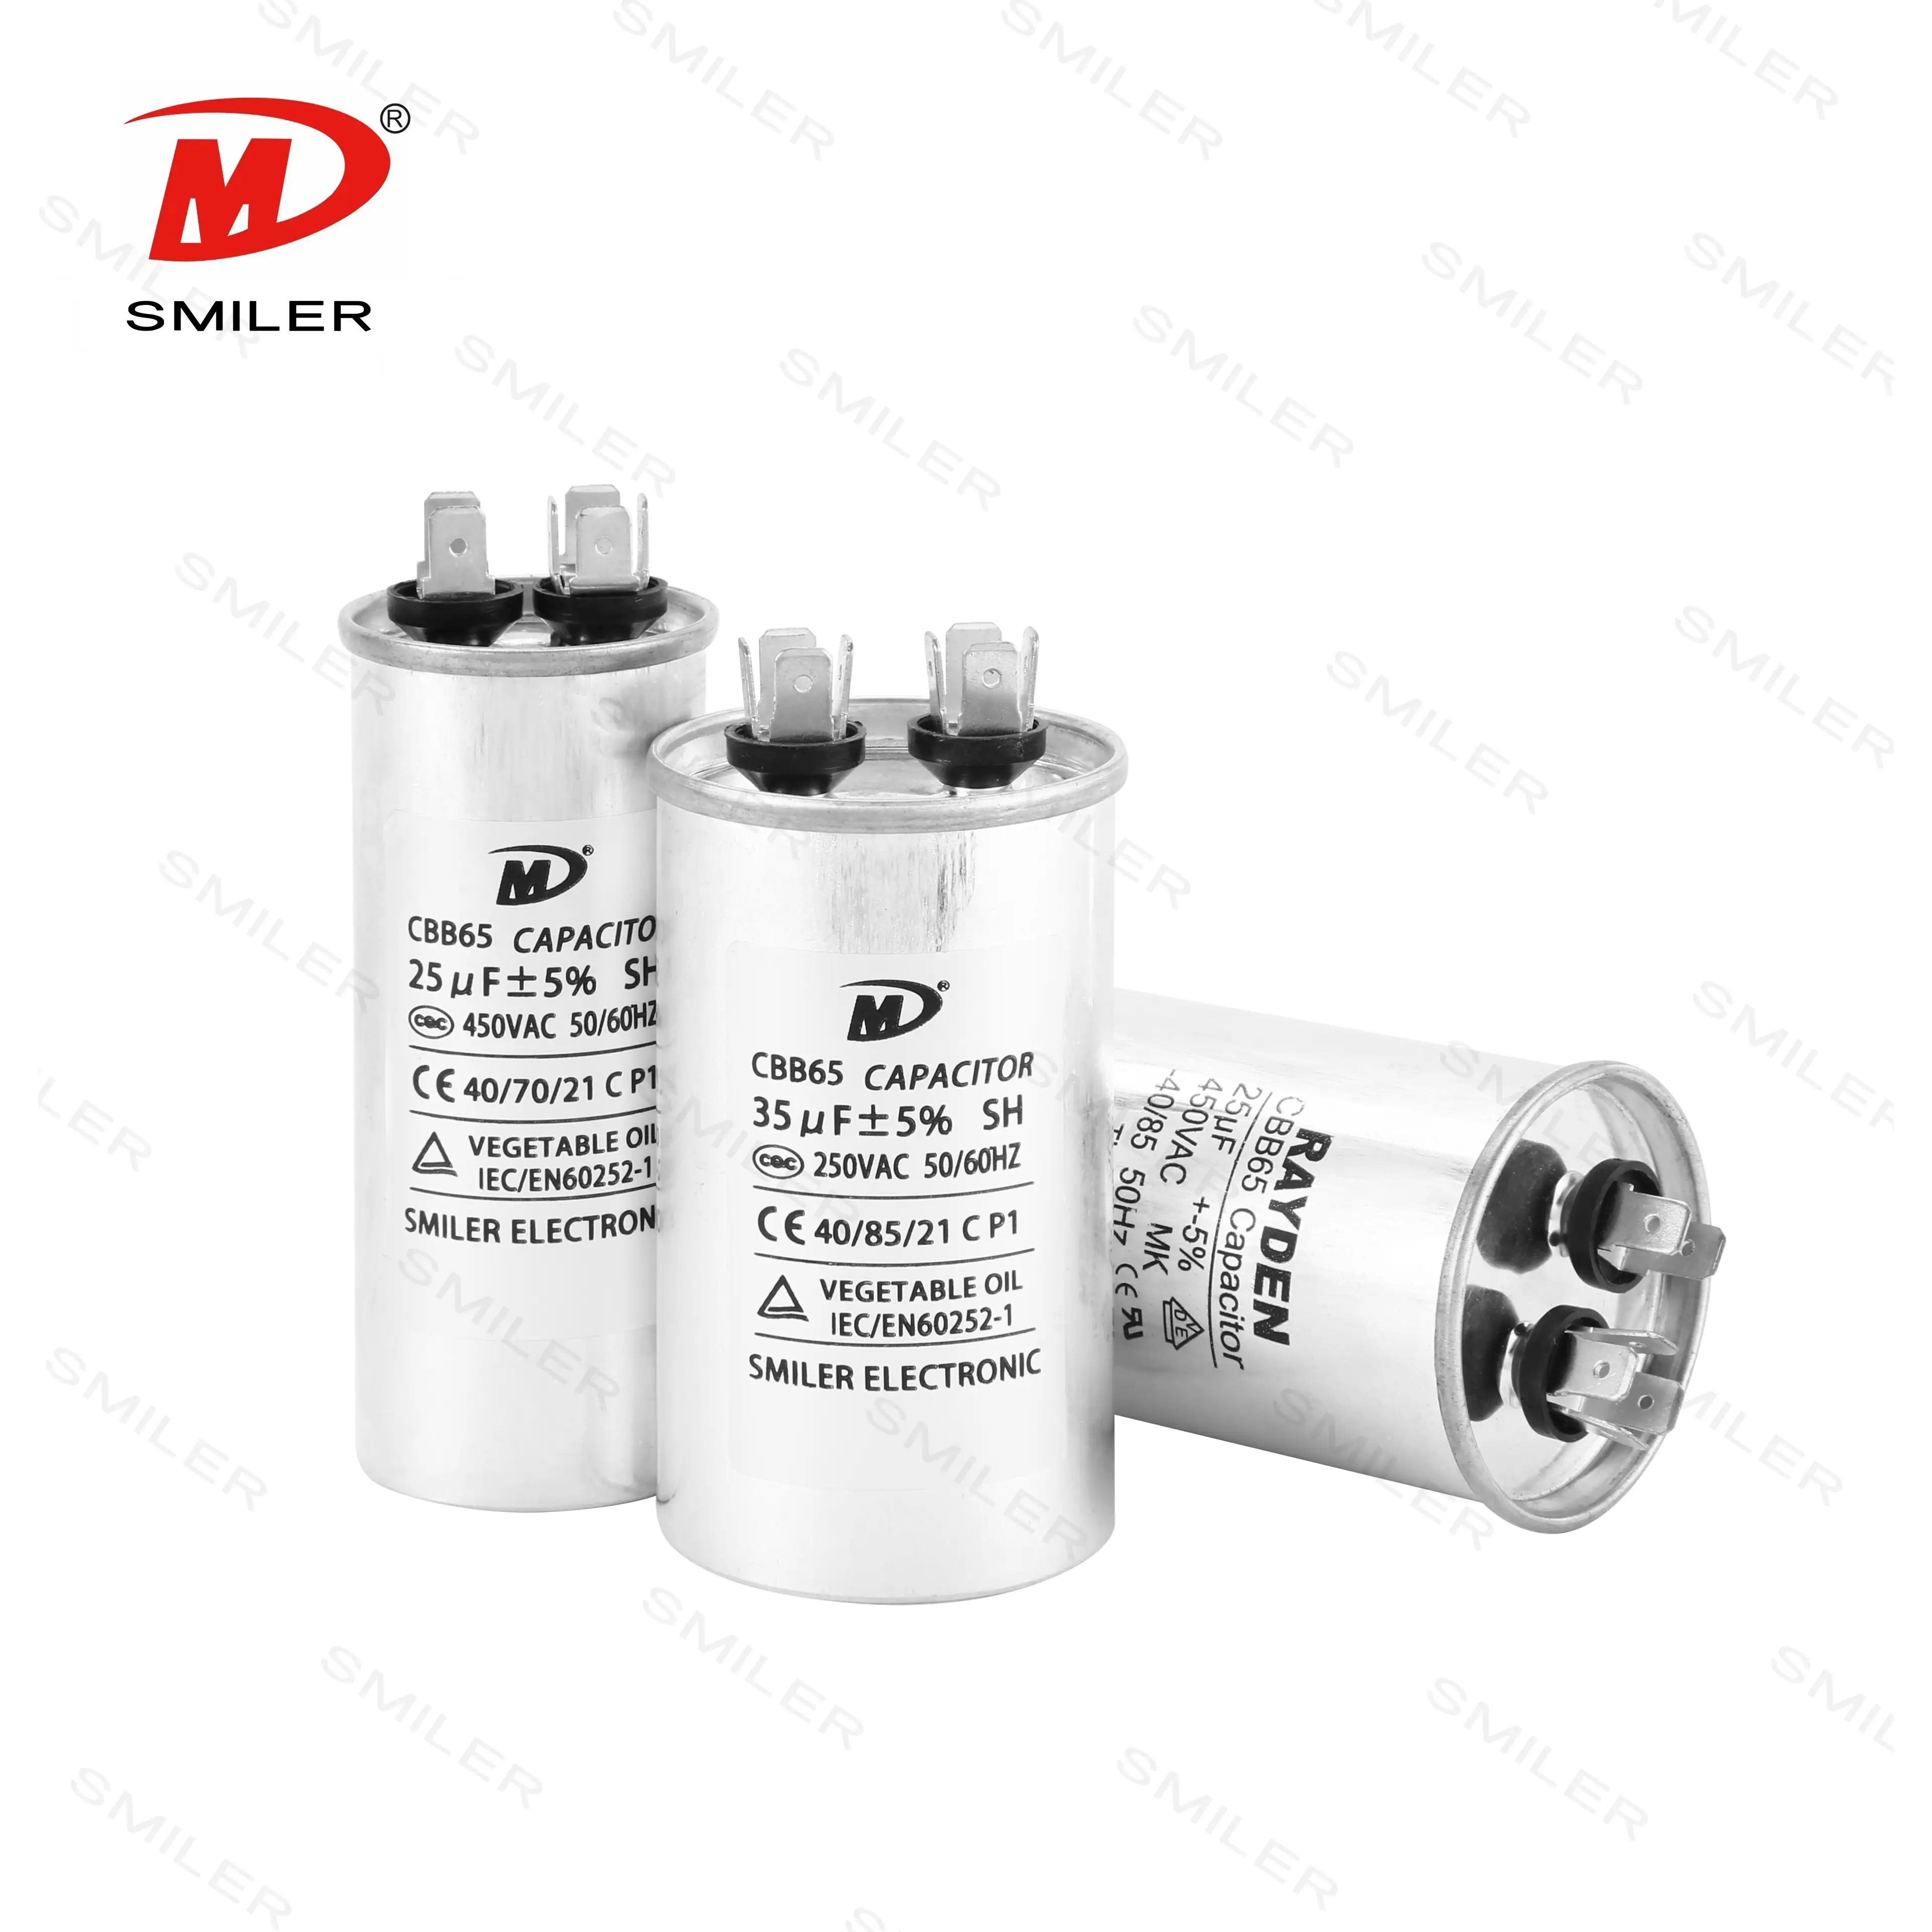
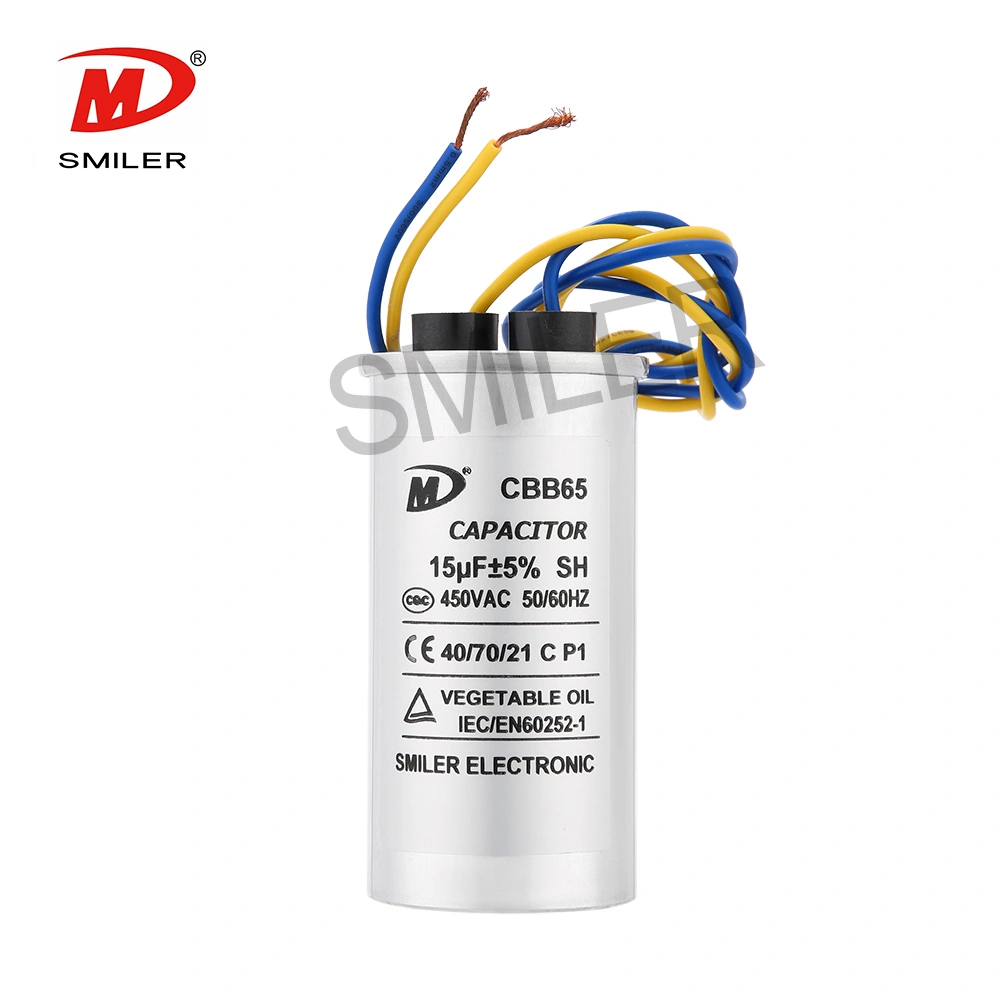
Once the value is confirmed, the spec is short, and we keep it short on purpose. The first number to match is the µF, because that's the value the motor was designed around, and our technical documentation is strict about it: match the nameplate, don't approximate. The voltage rating stays at or above the original, and this one runs one way only, because a 450 VAC part where a 440 VAC part used to be is fine and safer, while a lower rating is not, since the cap sees the full line voltage all day long. And the terminal layout has to match too, because multi-speed fans use multi-section cans with three or more leads, so photograph the old wiring before you de-solder, then wire the new unit lead for lead, since one wrong wire on a three-section cap can run the motor in reverse.
For volume or bulk sourcing we match your nameplate spec directly. Send the µF, the VAC, and the terminal configuration, and we'll quote against it, and if you're still unsure which of the two part types you're actually replacing, our start capacitor vs. run capacitor guide straightens that out before you order, because getting that one wrong is the most common mistake we see.
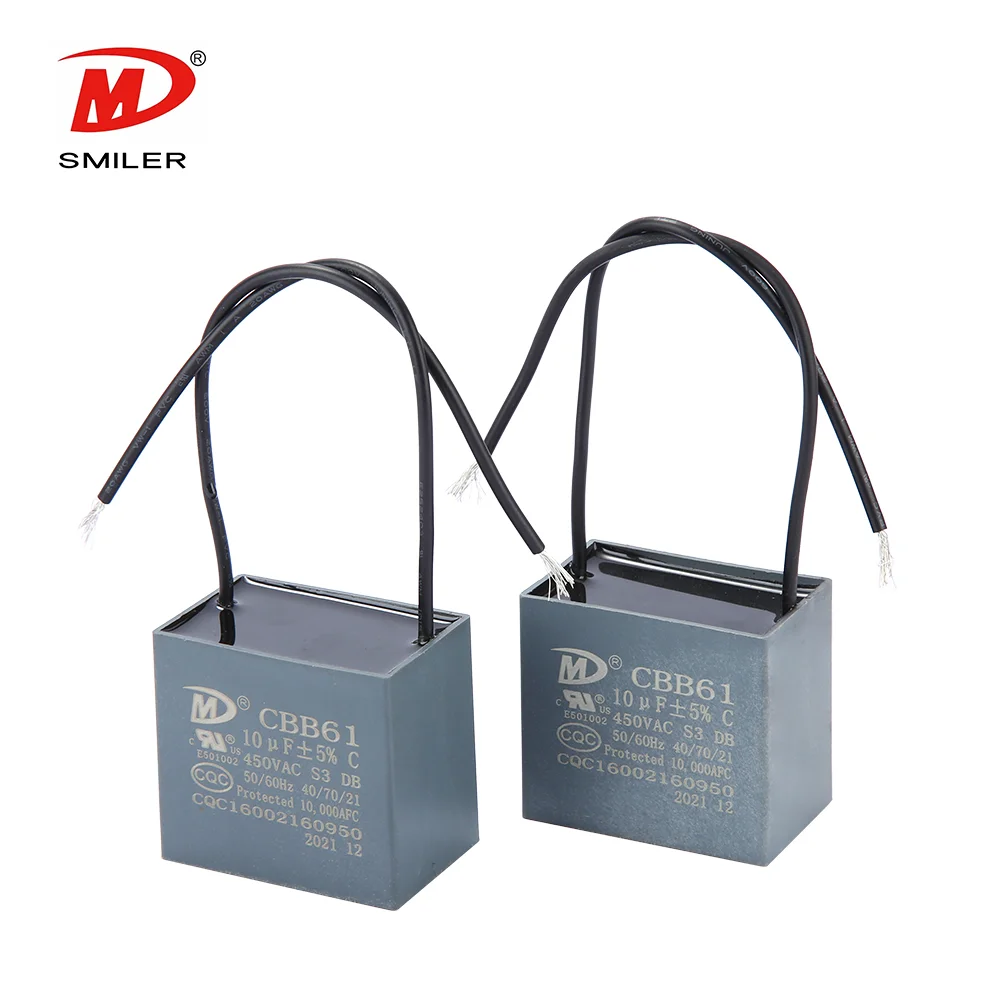
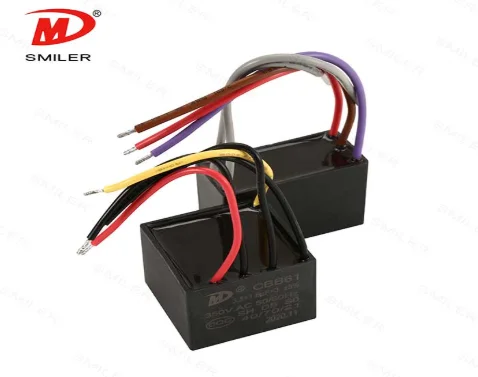
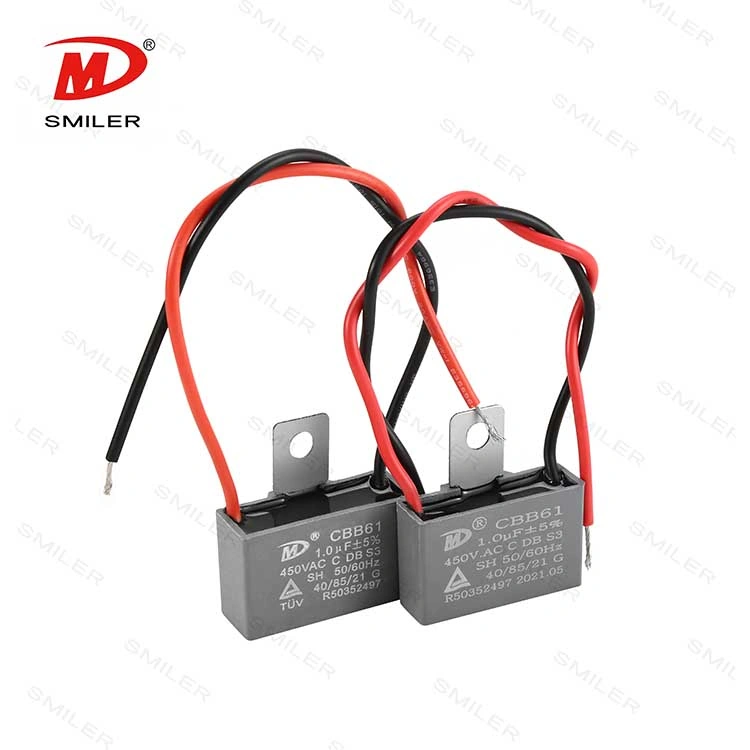
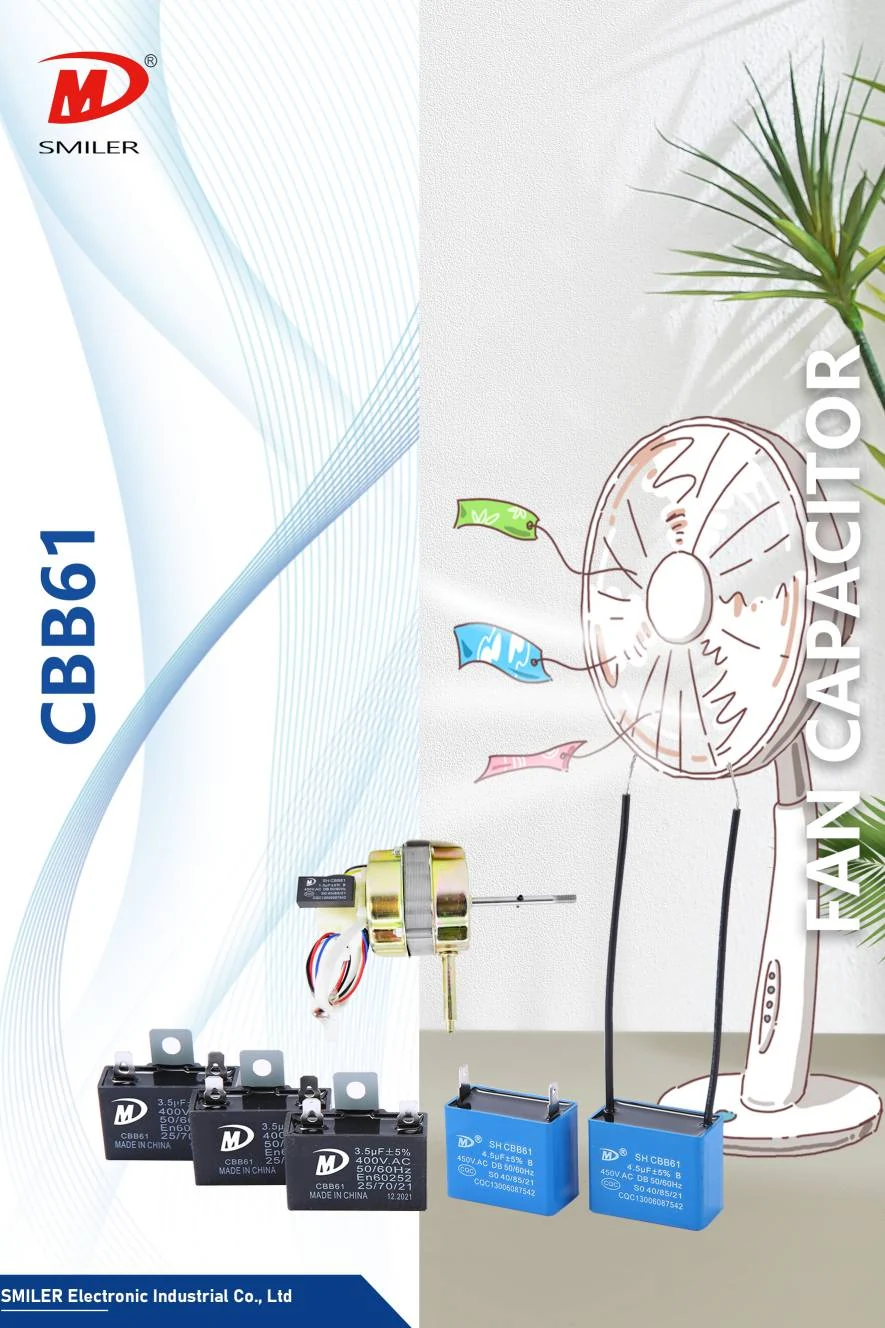
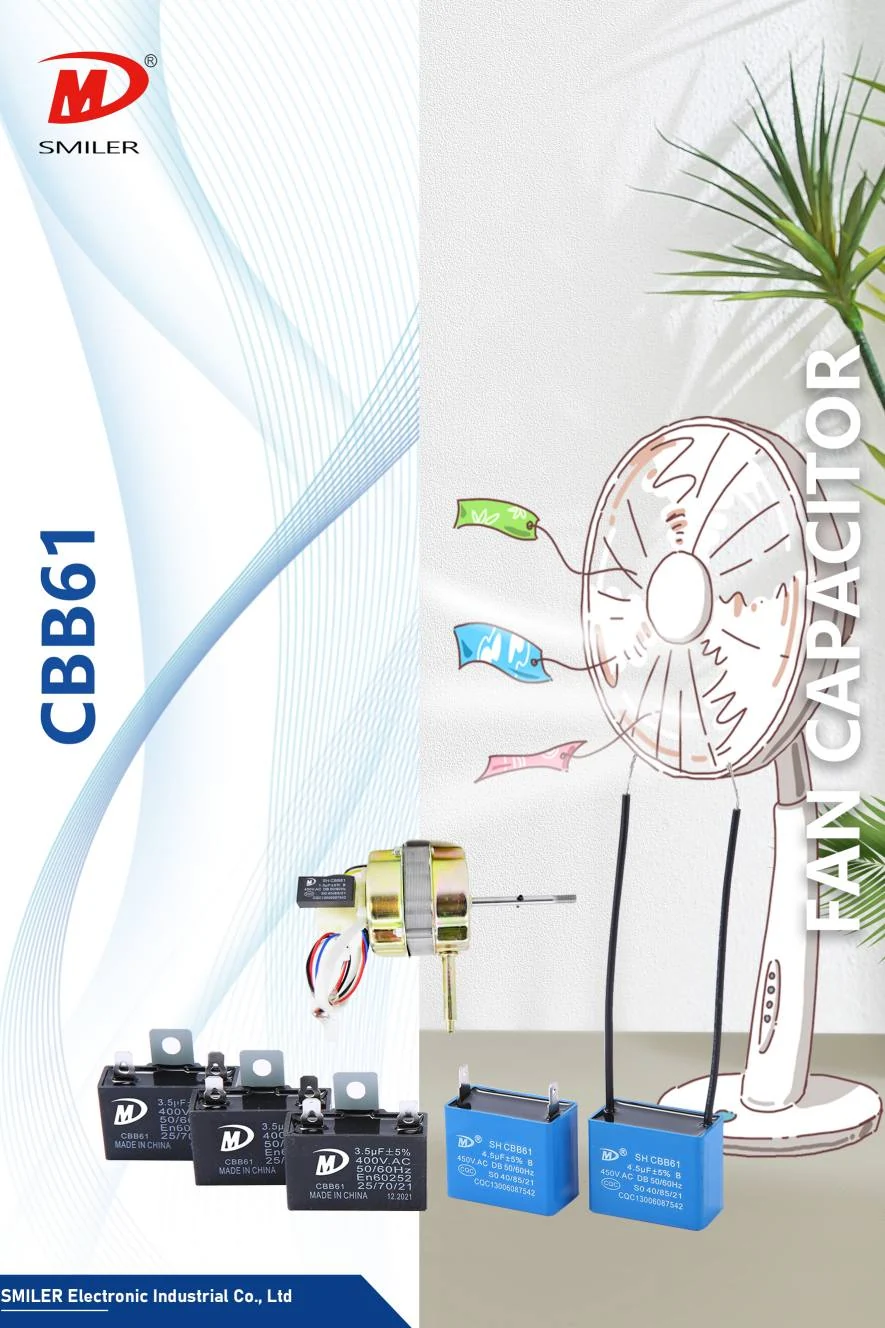
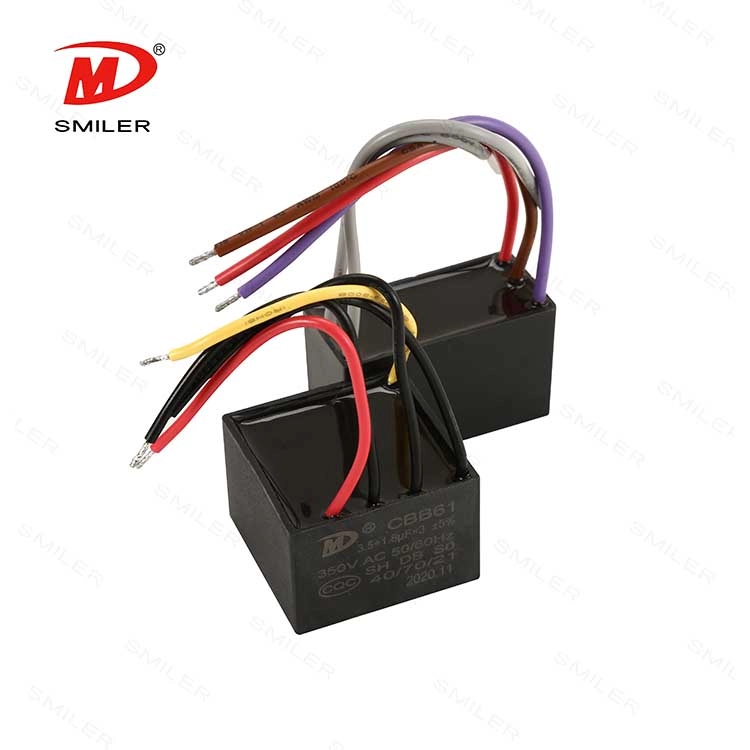
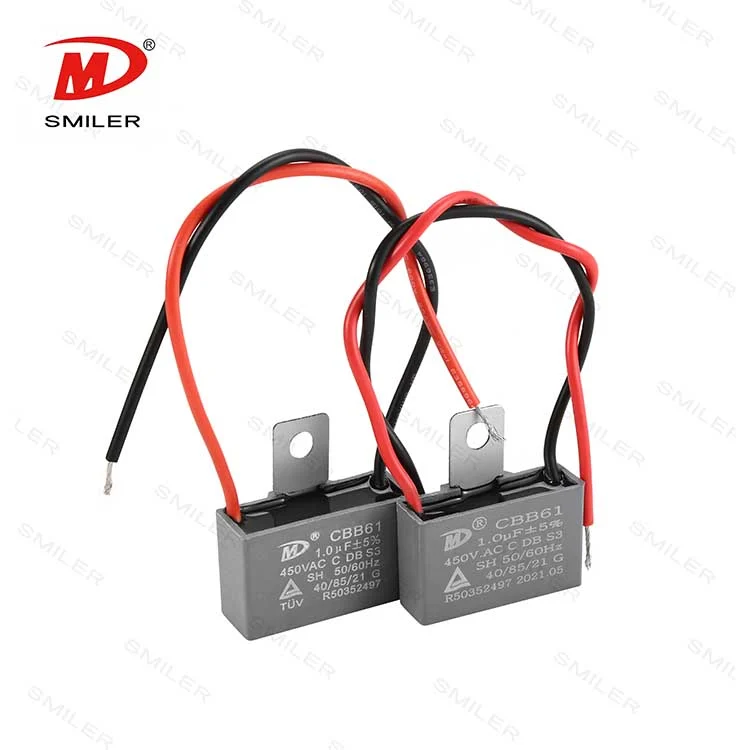
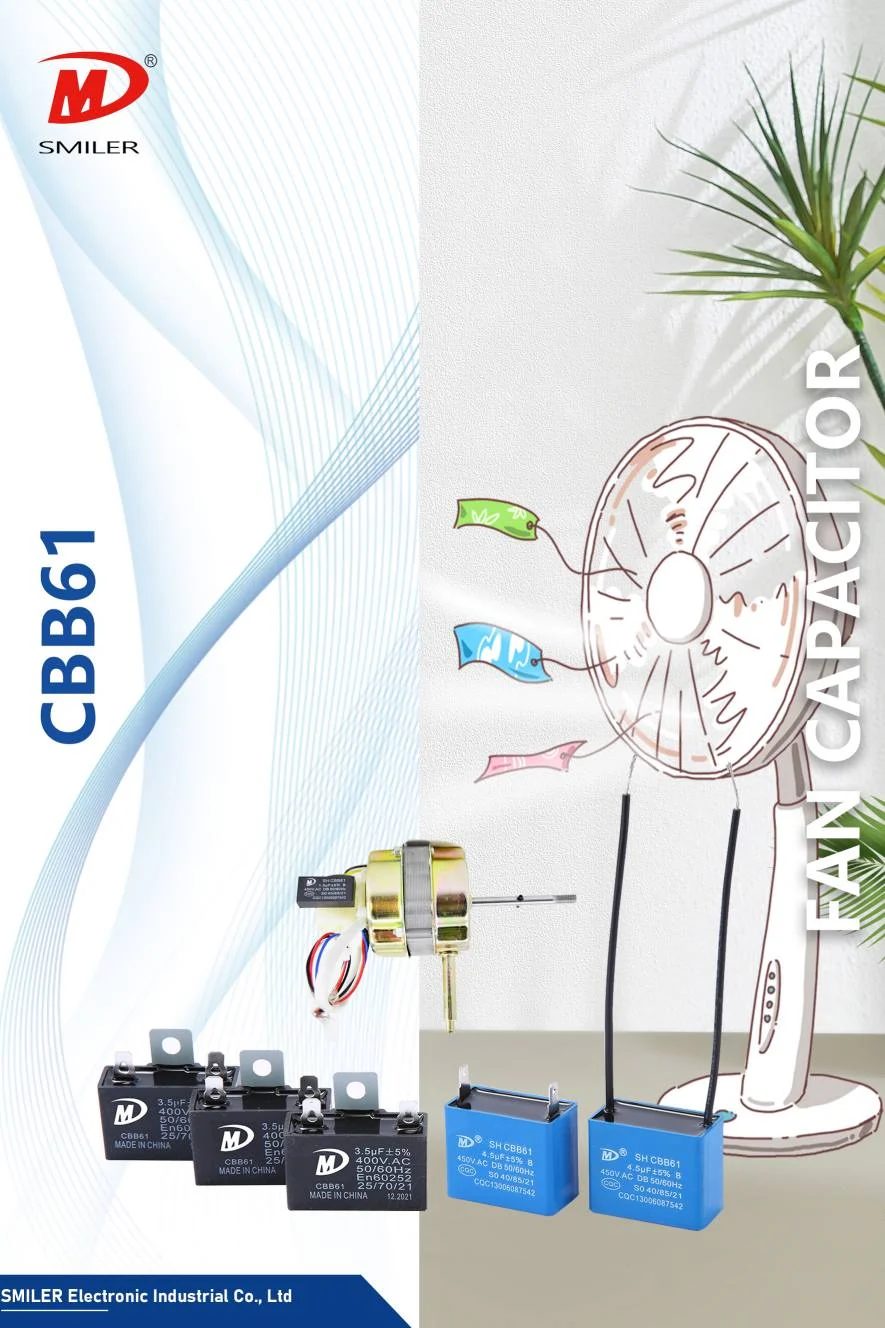
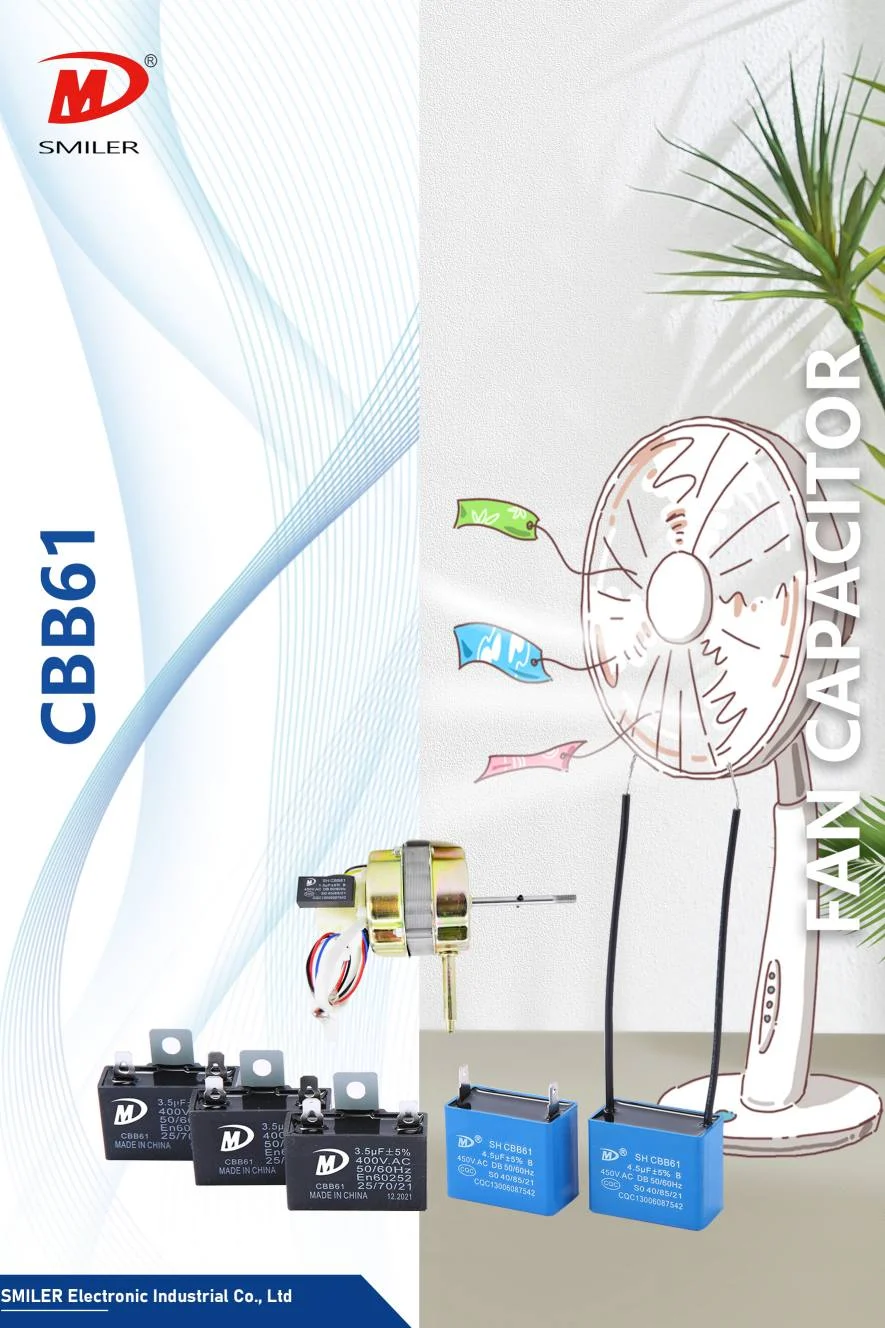
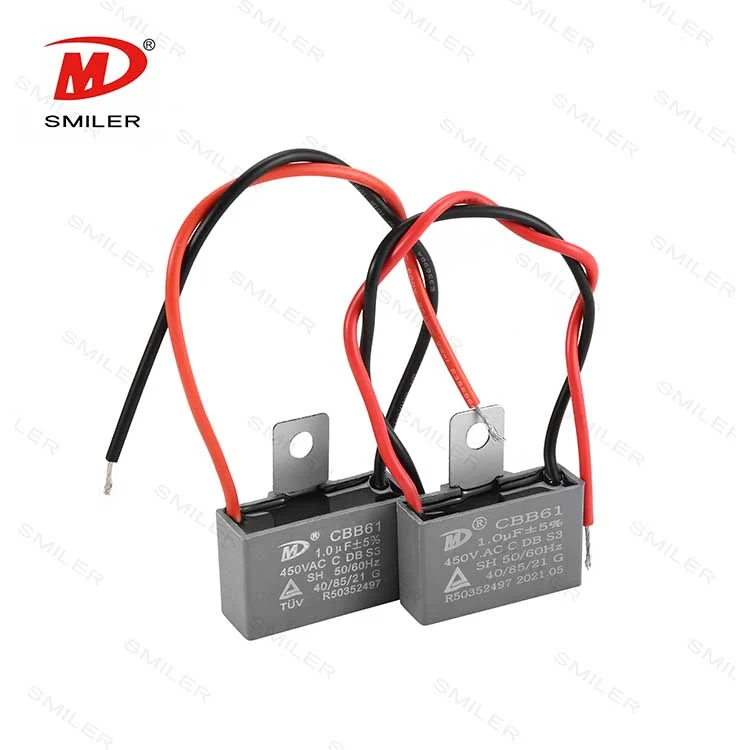
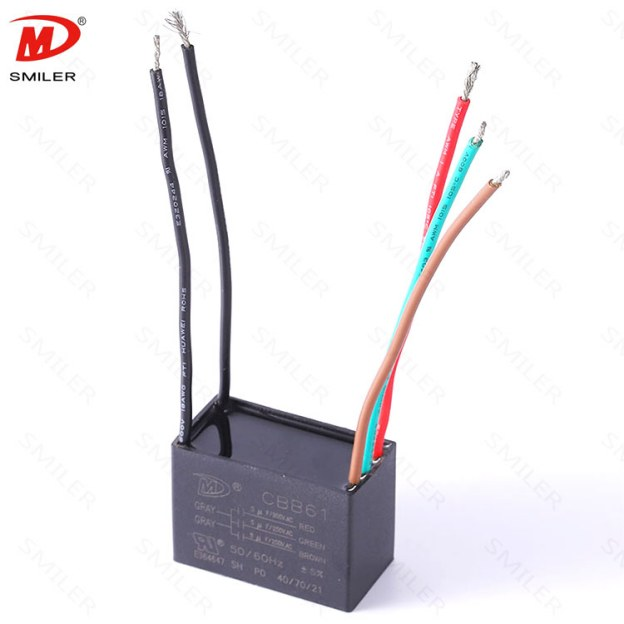
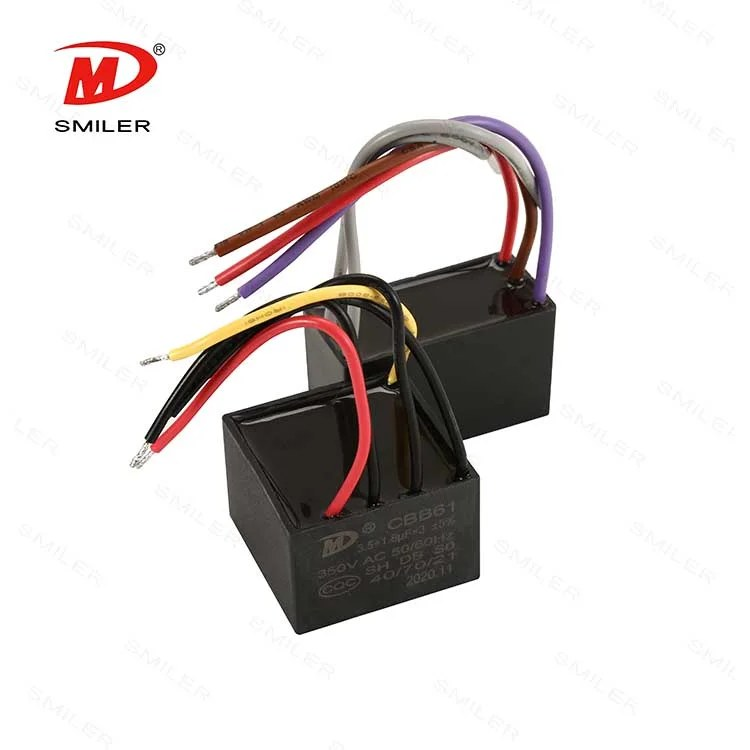
If you are sourcing the replacement rather than buying a one-off retail part, SMILER makes CBB61 metallized polypropylene film capacitors for fans and other single-phase AC motors. The range covers different capacitance values, voltage ratings, and case sizes, and custom specifications are available for orders that do not fit a standard part. Send us the old capacitor label and a clear wiring photo; we can match the µF, VAC, and lead configuration before quoting, which is more reliable than choosing a replacement by case shape alone.
A: You don't have to unmount the can from the housing, but at least one lead needs to be disconnected from the circuit for a clean reading, and if you measure it still wired in, the parallel paths through the windings throw the value off, so you end up reading the fan rather than the capacitor.
A: A few percent low is normal and we'd leave it alone, because film caps drift a little over years of service. It's once the reading is more than about ten percent below the marked value that it's out of tolerance, and that's when we replace it, because that's the drift that starves the auxiliary winding.
A: No, and this is the one we're firmest on. Breaker off, confirm with the voltage tester that the canopy is actually dead, discharge the terminals, and only then touch anything, because testing a live part isn't a measurement, it's a gamble.
A: That's an open capacitor. It's not storing any charge, so there's no phase shift for the start torque, which is exactly the combination you'd expect from a fan that hums and refuses to turn. Replace it with a unit that matches the original µF and voltage, and recheck the reading on the new part before you reassemble, which takes about a minute and catches the rare bad replacement.
A: For anyone doing appliance or fan work, yes. A µF reading tells you a lot more than a resistance test, and it's the difference between a confident diagnosis and a guess, so we'd rather have the capacitance range than almost any other feature on the bench.
Exploring How AC Capacitors and DC Capacitors Function Differently
Understanding Snubber Capacitor: RC vs. RCD Snubber Differences
Understanding DC Capacitance to Prevent Converter Oscillations
What Does a CBB61 Fan Capacitor Do? Exploring the Role of CBB61 Fan Capacitors
Mastering AC to DC Rectifier with Capacitor Techniques
SMILER's Guide to Selecting the Right Snubber Capacitor Type
Exploring the Role of DC Link Capacitor Use in EV Power Systems
Understanding Why Capacitors Pass AC but Block DC in Circuits
RC vs. RCD Snubber: Key Differences and Applications Explained
What Drives AC Capacitor Cost? A Comparison with DC Capacitors
Snubbing Capacitors in Power Electronics: RC vs. RCD Snubber
Understanding How DC Current in Capacitor Initiates Charging

Application of DC-Link Capacitors in EV Fast Chargers
Why DC Link Capacitance Matters in Modern Electronics Design?
Analyzing Resistor and Capacitor in Parallel for DC Circuit Optimization
Unveiling the Mechanics of Snubber Condensator in Power Systems
Exploring Capacitor in DC Analysis: Practical Circuit Insights
Mastering the Reset of Your CBB61 Fan Switch
How Capacitors and Resistors Enhance Filter Efficiency
How Snubber Capacitor Impacts RC and RCD Snubber Performance
Analyzing DC Link Dynamics in Modern Electric Vehicles

DC Link Capacitor Design: A Comprehensive Selection Guide
Understanding Capacitor Filter Circuit: Frequency and Value Relationship
Choosing the Right Filter Capacitor for Induction Cooker: An In-Depth Guide
Capacitor Voltage Regulator: Unveiling Hidden Drawbacks
How to Accurately Calculate AC Circuit Capacitor Impedance

Air Conditioning Capacitors: How They Impact Performance and Longevity
CBB65 250VAC Capacitor Explained: What Every Professional Should Know
What Should You Know About Filter Capacitor Replacement in Electronics?
Understanding the Use of DC Link Capacitor in Inverter Design for EVs
How to Choose the Best Bus Capacitor for Your EV Inverter Needs

Decoding the Complexities of Buck Converter Capacitor Current
In-Depth Analysis of Capacitor in DC Circuit Applications
Key Applications of Energy Storage Inverters in Industrial Operations
AC to DC Filter Circuit Design: Essential Considerations for Experts
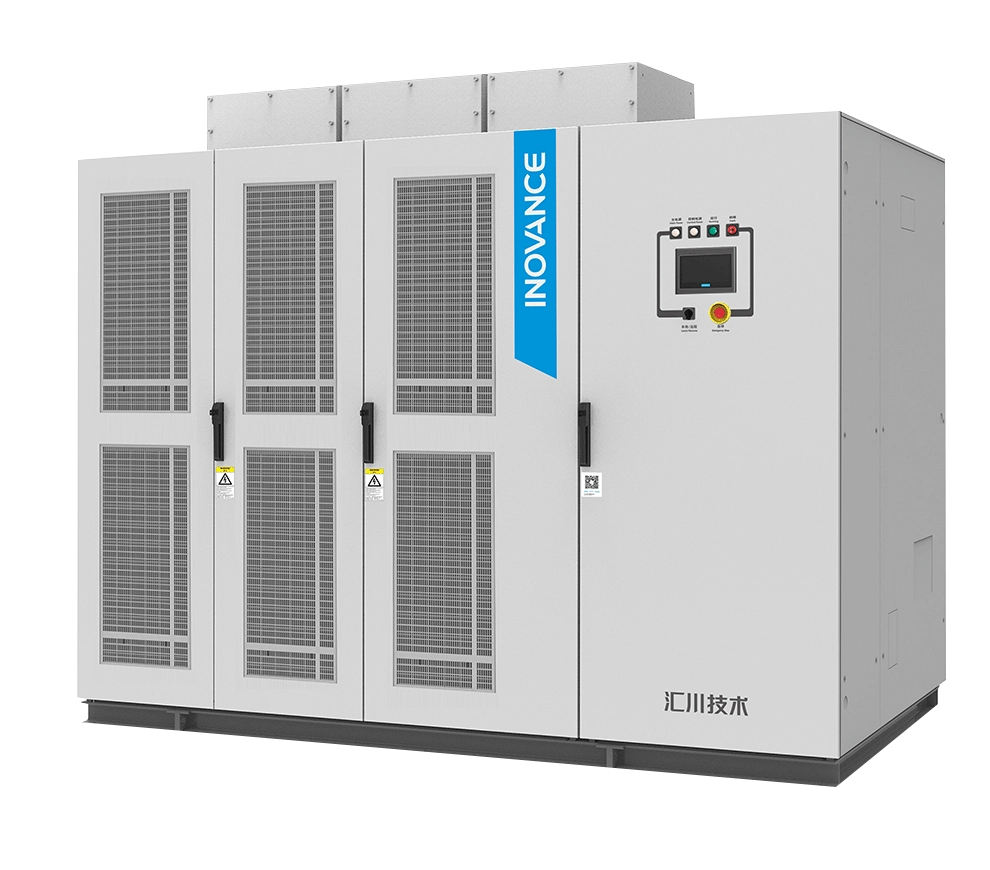
How Do Capacitors Improve Efficiency in Medium Voltage Inverters?
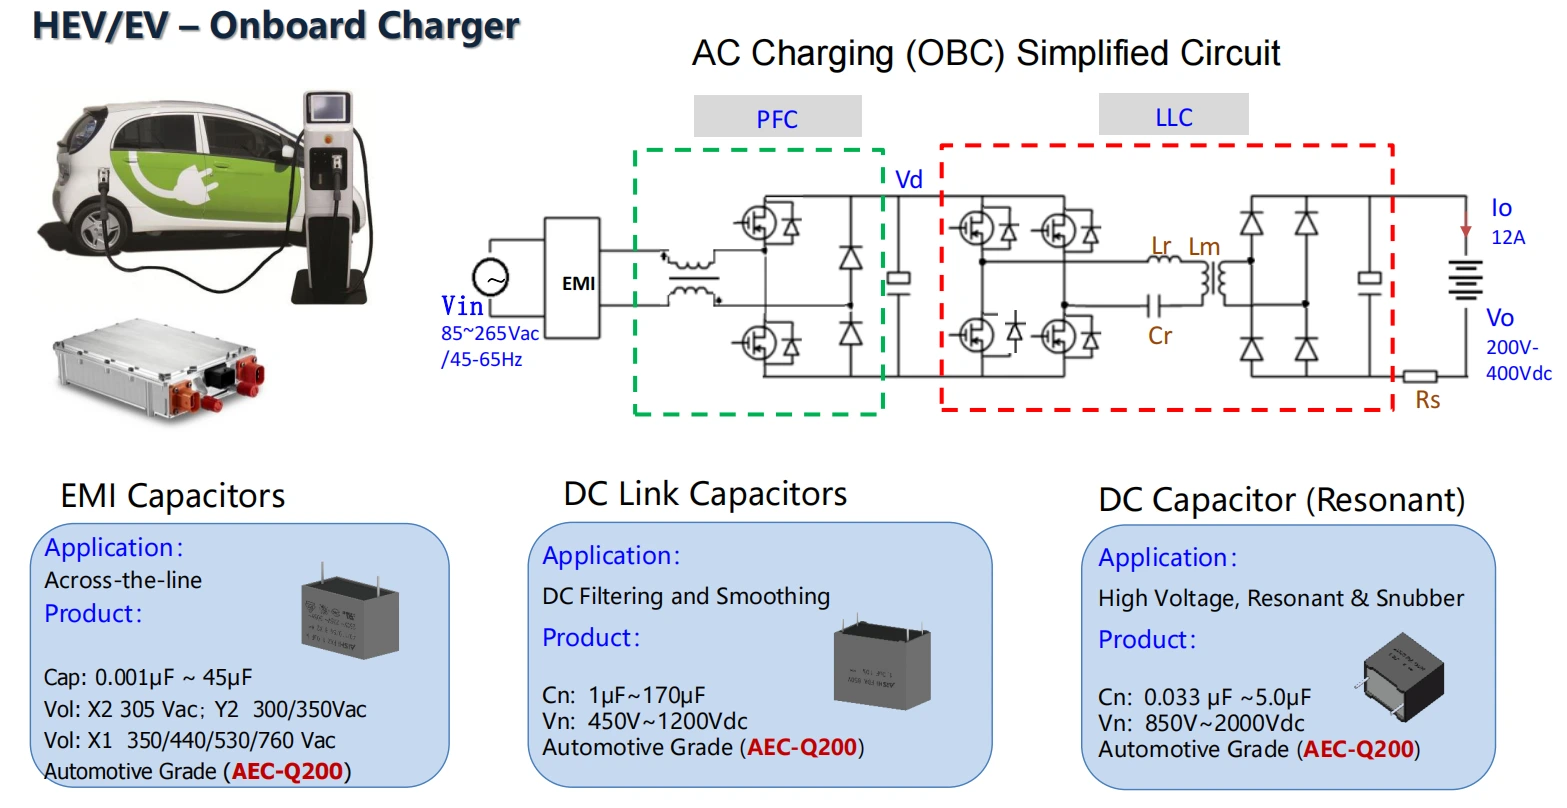
How Do Capacitors Boost Onboard Charger Performance in EV Systems?
Electric Vehicle Fast Charging Station: How Capacitors Improve DC Link Stability

How Capacitance in DC Circuits Creates an Open Circuit Effect

Step-by-Step Guide to Calculating Inverter DC Link Voltage
2025 EV Main Drive Inverter Technologies: How Capacitors Enhance Inverter Performance and Reliability
AC vs. DC Capacitors: Unveiling the Critical Distinctions

Wind Turbine Inverters 2025: How Capacitors Ensure Longevity
Unveiling the Function of Capacitor with DC Source in Electronics

Using Capacitors to Smooth DC Voltage: Enhancing EV Efficiency
Comparing Buck, Boost, and Buck-Boost Converters: Capacitor Roles

Distributed Solar Inverters: How Capacitors Support Grid Integration

Analyzing the Process of Capacitors Converting AC to DC

DC Decoupling Capacitor: Is It Essential for Your Circuit Stability?

DC Link Capacitor: Enhancing Power Stability in High Speed Trains

How Link Capacitors Stabilize DC Bus Voltage in Inverters

How a Capacitor Charges in a DC Circuit: A Detailed Analysis

How DC Coupling Capacitors Differ from AC and DC Blocking Capacitors

The Science Behind Outdoor Capacitors: What Experts Need to Know

Capacitance in DC Circuits: Stabilizing Voltage & Reducing Ripple

AC to DC with Capacitor: Optimizing Signal Conversion Processes

Selecting Input Capacitors for Buck Converters: Key Considerations
How to Choose the Right Filter Capacitor Types for Your Circuit
Capacitor ESR Impact on Low Pass Filter Performance
RCD Snubber vs RC Snubber: Best Practices in Capacitor Use

How AC Blocking Capacitors Work: A Deep Dive into Their Functionality

Top Applications of Capacitor Block DC in Electronics

How to Calculate Cut-Off Frequency in a High-Pass Filter with a Capacitor

Does the Placement of DC Blocking Caps Impact Electrical Systems?

How Bidirectional Capacitors Enhance Non-polarized Circuit Design

DC Link Converter and Inverter: How to Calculate DC Current Needs
How Fan Capacitors Work: A Detailed Technical Analysis

2025 Hong Kong Electronics Fair – Sharing Innovation, Connecting the World
How to Choose Input Capacitors for Optimal Buck Converter Performance
What Size 1.5 HP Aircon Capacitor Ensures Optimal Performance?

Evaluating Dielectric Types for Effective Snubber Capacitance

How Capacitor as Filter Circuit Enhances Signal Purity

Decoding Detuned Capacitor Reactors: Understanding Their Purpose
High Voltage Filter Capacitor: Strategic Placement for Optimal Efficiency

DC Blocking Capacitors: Why Capacitance Matters in Signal Integrity
RCD Snubber Capacitor Selection: Measures for Surge Suppression

Capacitor for Heat Pump: Ensuring Reliable Climate Control
Choosing the Right Capacitance for DC Power Supplies
Can a Ceiling Fan Capacitor 4uf Be Replaced with a 5uf Capacitor Safely?
AC Coupling Capacitors: Advanced Strategies for Optimal Use
RCD Snubber Capacitor vs RC Snubber: Key Performance and Design Insights

Exploring DC Motor Filter Capacitors: Key to Effective RFI Filtering

AC Coupling Cap Insights: Choosing Between AC and DC Coupling

The Role of Capacitors in Converting AC to DC Power

Optimizing DC Link Capacitor Design for 3 Phase Inverter Efficiency

Capacitance Challenges in DC Circuits: Ripple, Noise, and Surge Protection

How RCD Snubber Capacitors Reduce EMI in Power Electronics

Understanding Capacitance in DC Circuits for Industrial Power Design
AC Condenser Unit: Top 5 Run Capacitor Signs in 2026
Best Ceiling Fan Capacitors 2026: Top Buyer's Guide

Ceiling Fan Capacitor Failure: 5 Signs to Replace Now

Capacitor Converts AC to DC: The 2026 Expert Guide

How AC Filter Capacitors Enhance Power Efficiency in Power Electronics

How to Select DC-Link Capacitors for PV Storage Inverters 2026

How to Prevent Voltage Spikes with Proper RCD Snubber Design

Role of Capacitor in DC Circuit Stability and Energy Buffering

Why is My Ceiling Fan Slow? Capacitor Troubleshooting & Replacement Guide

Top 5 Capacitors for AC to DC Power Converters (2026 Guide)
AC Condenser Unit Repair: Best CBB65 Capacitor Guide 2026

Cost-Effective RCD Snubber Capacitors for Industrial Applications

Slow Ceiling Fan? Capacitor Troubleshooting & Replacement Guide

How Do Capacitors Acting as Filters in AC Circuits Block Low Frequencies?

How to Design an RCD Snubber Circuit for IGBT Modules
Understanding AC Flux Capacitor: The Role of Run Capacitors
Why Is My Capacitor Leaking Oil? Causes and Solutions Explained
How to Test a Ceiling Fan Capacitor with a Multimeter (2026 Guide)
Common Capacitor Problems in AC-DC Power Supplies and How to Fix Them?
How to Select the Right Capacitor for an AC-DC Power Supply

Ceiling Fan Capacitor Types: 2026 Selection Tips
Film vs Electrolytic Capacitors: Why Does the Choice Matter for AC-DC Converters?

Best RCD Snubber Capacitor: Top 5 Choices for 2026
Top RCD Snubber Capacitor Types for 2026 Inverters
Top Rated AC Capacitors 2026: The Ultimate Industry Sourcing Guide
Capacitor Leaking Oil in HVAC: Quick Troubleshooting Guide 2026

How to Replace a Ceiling Fan Capacitor: 4-Wire & 5-Wire Wiring Guide

AC Condenser Unit Efficiency: Why Quality Capacitors Matter

Mastering Capacitor Filter Calculations in Power Supply Design

What is a CBB61 Ceiling Fan Capacitor? Specs, Features & Applications
Capacitor Leaking Oil: Why It Happens and How to Fix It Fast

Is Your Capacitor Leaking Oil? 5 Dangers & When to Replace It Immediately

CBB61 Ceiling Fan Capacitor: Top Specs & Features
Best RCD Snubber Capacitor in 2026: A Guide for IGBT and Power Supply Design

How Capacitors Reduce Ripple in Rectified DC Power Supplies

How to Determine Snubber Capacitor Value for Optimal Performance

How to Wire an AC Ground Capacitor in Just 5 Steps
AC Capacitor Leaking Oil: Top 5 Warning Signs of Imminent Failure

Ceiling Fan Capacitor Values: Choosing the Right uF

RCD Snubber Capacitor Sizing: Top 5 Rules for 2026

Removing AC Capacitor: Uncover the Secrets of Efficient Replacement

Motor Capacitor Leaking Oil? Causes, Risks, and Replacement Tips

How to Reduce Capacitor Heating in High-Power AC-DC Systems

Condenser Price Fan: Uncovering the True Costs of AC Replacement

Why a 10µF Capacitor Is Essential for a Stable Power Supply
Capacitor Leaking Oil Diagnosis: What to Do When Your AC Fails
Why Capacitors Behave Differently in AC and DC Circuits: A Complete Guide to Their Working Principle and Behavior
Capacitor Leaking Oil Explained: How It Ruins Your AC Compressor
RCD Snubber Capacitor for IGBT: 5 Best 2026 Options
Capacitor Open-Circuit Failure in Film Capacitors Explained
Ceiling Fan Capacitor Rating: How to Pick the Right uF
How Capacitors Acting as Filters in AC Circuits Block Low Frequency
Future Trends in AC Power Capacitor Technology for Professionals
How 3 Terminal Filter Capacitors Enhance EMI Noise Reduction
Analyzing the Functional Differences in CBB60 25uF 500VAC and CBB61 Capacitors
What Happens to Voltage After Rectification? The Role of Capacitors
Understanding Snubber Cap's Role in Power Electronics Design
Analyzing the Impact of DC Filters in HVDC Applications
Ceiling Fan Humming and Running Slow? Choose the Right Capacitor Rating
How to Choose the Best RCD Snubber Capacitor for Flyback Converters
How to Choose the Right Filter Capacitor in a Power Supply Circuit: Sizing & Selection Guide
Why a Capacitor Input Filter Circuit Is Crucial in Modern Electronics
Variable Frequency Drive DC-Link Capacitor Sizing for High Ripple
DC-Link Capacitor Sizing Guide for Energy Storage Inverter and BESS Applications
Decoding Open Circuit Capacitors: Advanced Testing and Prevention for PCB Engineers
Wrong Ceiling Fan Capacitor Ratings That Damage Motors: Common Mistakes to Avoid
AC Condenser Unit Not Working? How Capacitor Failures Cause Cooling Problems
Low Pass Filter Resistor Capacitor Selection: Key Factors for Choosing the Right Capacitor
EV Onboard Charger Capacitors: Film vs Electrolytic DC-Link Design
Capacitor Open-Circuit Causes in DC Link Capacitor Systems
EV Charging Station DC-Link Capacitor Sizing for Fast Chargers
EV Traction Inverter Film Capacitors for High Ripple Current
Top Rated AC Capacitors 2026: The Ultimate Sourcing Guide for HVAC Systems
RCD Snubber Capacitor vs MLCC: 2026 Comparison Guide
Capacitor Open-Circuit Risks in AC Filter Capacitors Explained
How to Test a CBB61 Capacitor: Step-by-Step Guide for Ceiling Fan Troubleshooting
AC Furnace Capacitor: Key to Optimal Heating and Cooling
What Does µF Mean in CBB60 Capacitor 450VAC 40uF Specifications?
How to Test a Fan Capacitor With a Multimeter (Step by Step)
Start Capacitor vs Run Capacitor: How to Tell Them Apart and Why You Can't Swap Them


 Add
Building 12,Huazhi Technology Innovation Center,28 Sanle East Road,Beijiao,Foshan,Guangdong,China
 Phone
+86 18007576965 / 0757-22391591
 Email
ari@sml-cap.cn



